Linen Hudson Pants
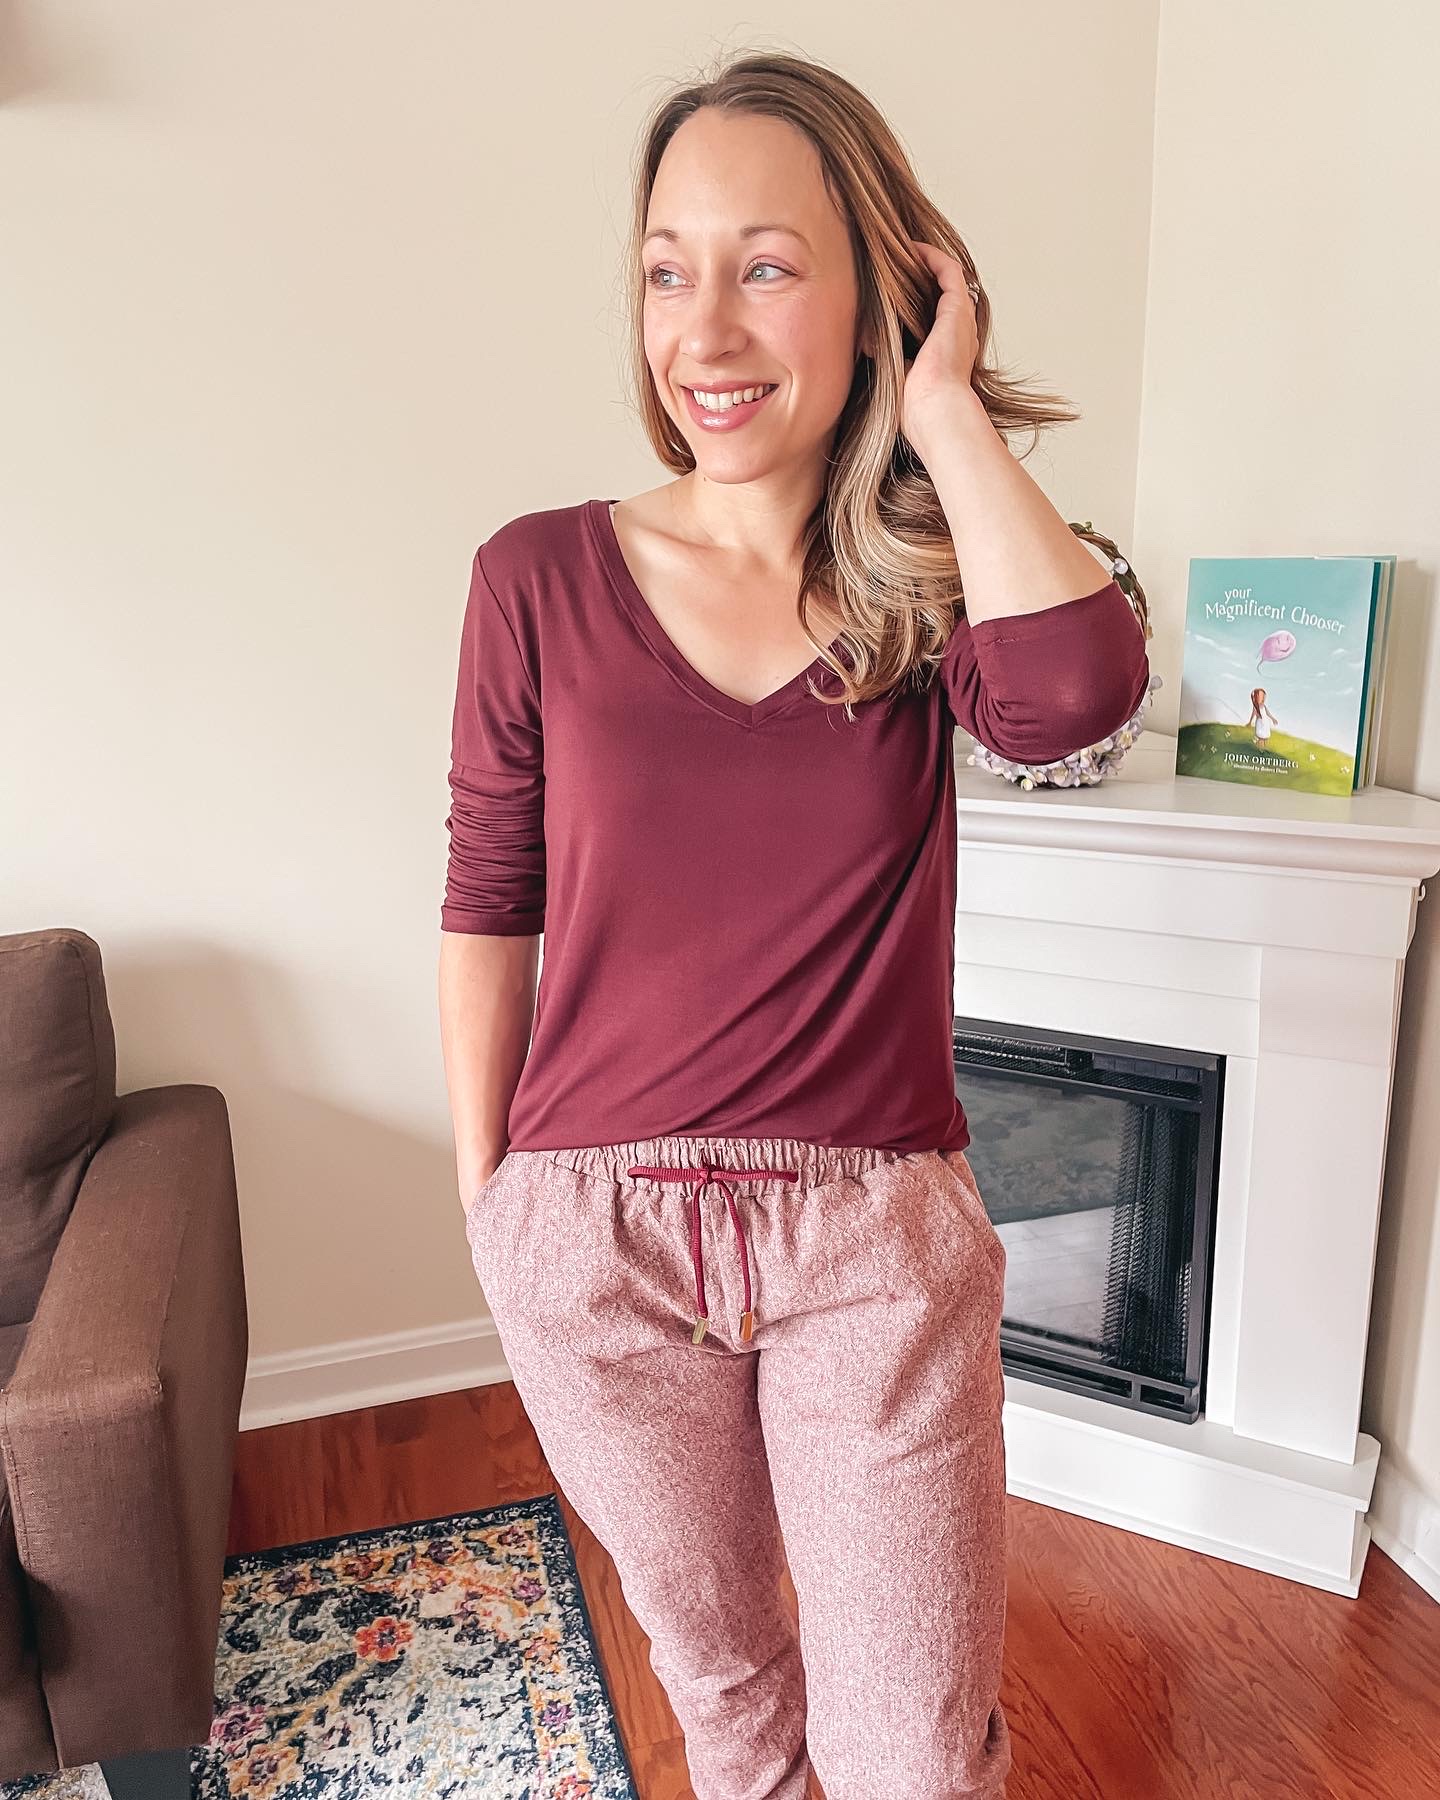
I can hardly say enough good things about these linen joggers. I just LOVE them and have been wearing them nonstop since they came off the sewing machine!
I used the True Bias Hudson Pants patterns and sized up two sizes to compensate for the woven fabric. I already owned this pattern in tissue, which I had cut out in my size to make my first pair of French terry joggers. You should have seen me trying to add back in the additional two sizes while cutting out the pants - actually you can see a reel on my Instagram account. Its kind of hilarious in retrospect, even if it wasn't too funny at the time!
I also increased the ankle cuff pattern pieces to 12" x 5" so I could fit my foot through the opening and use the same two inch elastic I used in the waistband. If I make woven joggers with this pattern again I would increase the length to about 14", allowing putting my foot through the opening a bit easier.
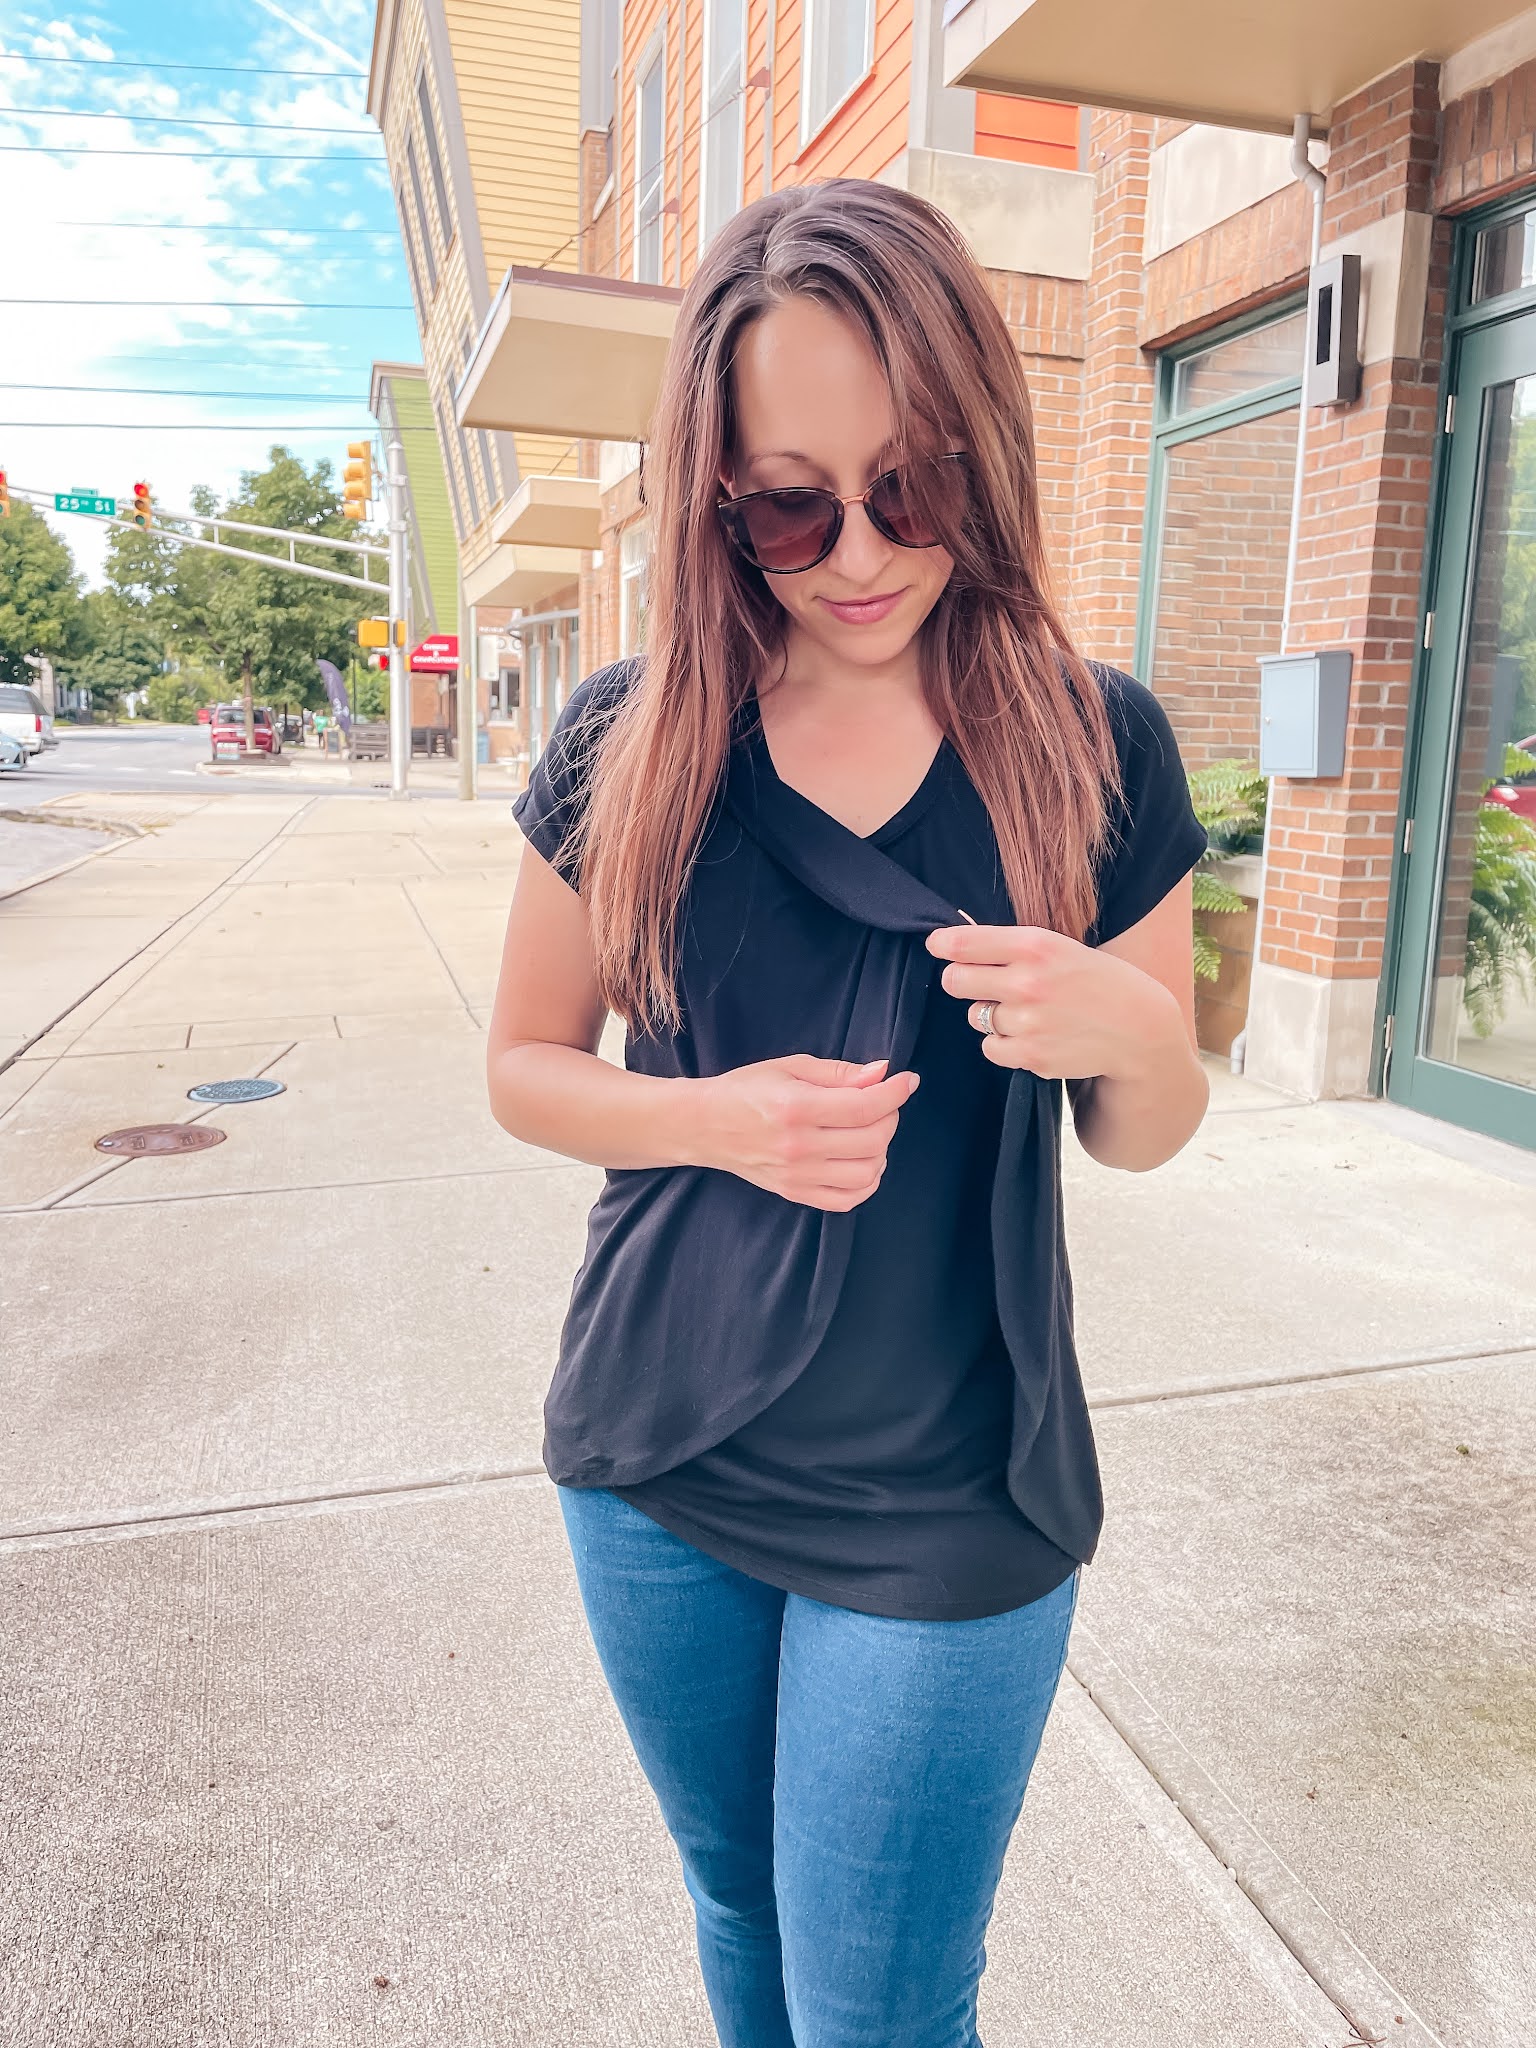
Nursing Tulip Tee
Willow Wrap Dress - Nursing Top Hack
This should have been a quick and easy make, but I was stumped on how exactly I was supposed to turn up 5/8" for the front, circular hem portion. After a video call with my mother and a few quick internet searches I found that Brittany made a "Sew With Me" video for this top and she (among others) ran into the same issue. I'm glad I wasn't alone! I needed to clip further than I initially thought I should and took a very scant hem over the curved portion and I was over the difficulties. I used a mixture of zigzag stitches, on the internal seams and seams that would need to stretch, and small straight stitches, on the external hem seams, which won't need to stretch due to the design.
The pattern called for set-in sleeves but, since this is a knit pattern I decided to sew my sleeves in flat making that portion of the pattern a bit easier to assemble. In all, this pattern took four or five hours for me to cut out and sew together. And maybe he's being a bit over the top, but my husband thinks it looks like it could sell for over $100 in a department store. That makes this a pattern worth keeping and making again!
Size: small
Fabric used: Leopard Liverpool from So Sew English
Time estimate: 5 hours with fabric cutting
Cost to Make:
pattern - $1.00 SALE
fabric - $21.50
thread - from stash
TOTAL: $22.50
I struggle to cut into beautiful and special fabric. I've been storing a few floral fabrics, like this English Garden floral rayon from Rifle Paper Company, for years. Thankfully, I'd already made a toile of the Chai tee and knew what adjustments I needed to make for the perfect final garment.
From my first make I learned that I needed to grade from a size small on the top half of the garment to a medium in the hips. I also learned that it was important to make sure the shoulder pleats point outward so they lay correctly over the bust.
This was a fast make and required very little fabric but, with only a yard of this gorgeous print, I was still short just a bit. Luckily I was able to find a coordinating fabric in my stash that could be used for the interior yoke pieces.
I love how this make turned out! The Chai tee is easy to style with slacks and a blazer for work or dark skinny jeans for a casual weekend look. And without any closures this soft rayon blouse is easy to wear too. I see many more Chai tees in my future!
Time estimate: 3 hours (including fabric cutting)
Size: small/medium
Material used: rayon, 1 yard, plus some extra!
Care instructions: machine wash, tumble dry low
Cost to make top:
pattern - pre-owned ($15 value)
fabric - gifted from Sweet Red Poppy, thank you! ($15 value)
thread - from my stash
Total: FREE ($30 value)
Autumn Vibes Lark Tee
In September I took my first sewing class at a local fabric shop, The French Seam. Over the course of two, three hour long sessions each participant made their own Lark Tee. I was excited for the opportunity to learn a few additional tips and tricks about sewing with knits and was glad I took the class.
I decided to make the v-neck version with long sleeves, which seemed fitting for the autumnal themed fabric I selected, Floral Glow in Twilit by Art Gallery Fabrics. Thankfully sewing with a group of other women allowed us the opportunity to tissue fit our pattern pieces before cutting our fashion fabric. I traced my pattern pieces onto medical exam paper and cut out a size six.
Right off the bat our instructor Deb suggested something radical, sewing knits with a universal needle and a straight stitch. Deb and I agree that a straight stitch looks more professional, so I was game to try it! According to Deb's experience a longer straight stitch is more elastic than smaller, packed stitches. The heavier the fabric, the longer the stitches. I used a medium weight knit with a 3.0 stitch length. It is also important not to use too high of a speed while sewing the garment.
Since this fabric has a fairly obvious directional print, but the pattern pieces didn't have notches on the sides, Deb suggested that I trace the motif on my pattern to get good alignment when cutting out my fabric. This tip worked well and I will definitely be using it again in the future!
Before doing anything else I marked the stitch line of the v-neck and added a line of stay stitching just inside the stitch line. This is only the second v-neck t-shirt I've made, so I was glad to have Deb's assistance. It turned out better than my first one, but I hope to get it more crisp in the future. Thankfully the pattern of the fabric helps to camouflage this slightly less than crisp neckline.
I used stay tape in the shoulder seams and in the bottom hem. I stitched 1" knit stay tape, glue side up, to the bottom of the shirt. Then I turned the hem up, ironed it in place, and topstitched it. A few additional things I learned from Deb about ironing are to not wiggle my iron while ironing as it could stretch and misshape the garment and create wrinkles somewhere else. I also had the opportunity to use a wood clapper to set my seams after ironing.
I really like the Lark Tee and will definitely make this pattern again. Next time I make it I plan to grade the pattern to a size four at the waist for a slightly more fitted t-shirt. I can see a closet full of Lark Tees in my future!
Time estimate: 6 hours
Size: 6, long sleeve v-neck
Material used: 95% cotton, 5% spandex
Care instructions: machine wash cold, tumble dry low
Cost to make:
class - $65
pattern - $18
fabric - $25, 1.5 yards
thread - $2
TOTAL: $110 plus tax
The aptly named "favorite tee" is my first Patterns for Pirates make and it certainly won't be my last!
My wardrobe recently had both black and light brown RTW t-shirts similar to the long sleeved, curved hem top which were cheaply made and needed to be replaced, so I made this wearable muslin to test the pattern and was very happy with the results.
This pattern was extremely quick and easy to assemble. The most difficult part of completing this garment was finishing the curved hem. I used twin needles, at about 1/2" from the unfinished edge, with tear-away stabilizer to reduce tunneling. I am happy with the finished results, although it is a bit nerve wrecking to hem so close to the cut edge of my fabric from the top!
Next time I make a favorite tee I will probably shorten the neckband slightly; this one seems a bit too big and doesn't lay as flatly as I would like it to. I can't wait to make a few more versions of this top with that one slight adjustment!
Time estimate: 2 hours
Size: small
Material used: knit blend, pre-washed and dryed
Care instructions: machine wash gentle cold, tumble dry low, cool iron
Cost to make:
pattern - $9 + cost of paper, ink and tape to print and assemble
fabric - gifted
*thread from my stash
TOTAL: estimated $10
I have adored this cutely named "chai tee" pattern since I first saw it at a Cincinnati fabric store this spring. It will be a great addition to my work wardrobe, with my morning black tea!
The pattern is created for both wovens and knits, which makes it the perfect addition to my collection. I made my first chai tee with woven material allows for slightly more formal, business casual feel. As the pattern suggested, I sized up one size to compensate for the reduced stretch of a woven material.
I deviated from the pattern instructions in a few places, enclosing both of the yoke pieces inside using the rolling technique detailed in the instructions. Honestly, I did this on accident because I wasn't paying close enough attention... but in the end it was a happy mistake that I think made the final product feel more finished. Because both shoulder seams were already finished I pinned the neck binding in place, sewed it together into a closed circle, and continued to follow the instructions for attaching the binding.
After trying to stitch in the neck binding unsuccessfully a few time I decided to hand based it on, with much more success. One additional note I had about the neck binding was that I had to cut a second neck binding out because the pattern piece did not indicate that it should be on the bias for woven materials, although the pattern instructions did. Although this was a minor annoyance it was worth the effort to not fight an ill fitting binding.
One last note on the pattern instructions was that I had to add a basting line or two to the sleeve to get them set inside well. I was happy with this quick sew and was able to make it work for me with a few tweaks.
This is wonderful and wearable muslin, and I am glad I tried the pattern once before cutting into my final fashion fabric. As you can see, a straight size small is roomy enough in the bust, but much too tight around my hips. When I make this pattern again I will need to grade the hips out to at least a size medium. I can't wait to have more, tailored chai tees!
Time estimate: 5 hours
Size: small
Material used: polyester blend
Care instructions: machine wash cold, line dry, warm iron when needed
Cost to make dress:
pattern - $15
material - gifted
*thread from my stash
TOTAL: $15 plus tax