Leopard Twist Front Top


A year or more ago I saw the most beautiful animal print twist front top on Brittany J Jones' Instagram account and I knew I needed one just like it! I had high hopes of basing an autumn collect around this piece, but time got away from me and I just barely finished this top in time for my annual fall family photos. I love that it's a neutral though and easily works with my existing wardrobe. And bonus, it looks dressy on video calls.


This should have been a quick and easy make, but I was stumped on how exactly I was supposed to turn up 5/8" for the front, circular hem portion. After a video call with my mother and a few quick internet searches I found that Brittany made a "Sew With Me" video for this top and she (among others) ran into the same issue. I'm glad I wasn't alone! I needed to clip further than I initially thought I should and took a very scant hem over the curved portion and I was over the difficulties. I used a mixture of zigzag stitches, on the internal seams and seams that would need to stretch, and small straight stitches, on the external hem seams, which won't need to stretch due to the design.


The pattern called for set-in sleeves but, since this is a knit pattern I decided to sew my sleeves in flat making that portion of the pattern a bit easier to assemble. In all, this pattern took four or five hours for me to cut out and sew together. And maybe he's being a bit over the top, but my husband thinks it looks like it could sell for over $100 in a department store. That makes this a pattern worth keeping and making again!


Pattern: McCall's 7975, view D
Size: small
Fabric used: Leopard Liverpool from So Sew English
Time estimate: 5 hours with fabric cutting

Cost to Make:
pattern - $1.00 SALE
fabric - $21.50
thread - from stash
TOTAL: $22.50
QuickEdit
Marissa
0 Comments

Sunflower Fields - Auntie and Me


I recently had the honor and privilege of working with designer Crystal Whitlow on her newest autumn collection, Sunflower Fields. Crystal has so many fun designs for children that I immediately thought of an "auntie and me" mini collection. I'm a sucker for a good floral print and loved the idea of scaling her sunflower designs for different sizes.

I've made the McCall's 7542 twice before, once in an embroidered denim fabric and once in a blue and white shirting, and know I love it. However, I wasn't a fan of the neck facing and the bell sleeves were difficult to hem, so I decided to try my hand at using bias binding in it's place. I was fortunate to find a similar top pattern for little girls, McCall's 7799, and topped off our coordinating outfits with bow tie for him McCall's 7223.

I ordered four different kinds of fabric printed on cotton poplin to create these looks - 2 yards of Large Sunflowers (red) for my top, 1 yard of Sunflowers and Fauna (red) for her top, 1 yard of Elf Red Speckles for our sleeve and bias binding, and 1 yard of Sunflower Stripes for his bow tie. The fabric was a dream to work with, I love how the bell sleeves hold their structure, and each pattern came together quickly. However, I did find cotton poplin bias binding hard to work with and would choose a lighter weight fabric for bias binding in the future.

Tip: I watched Lauren Guthrie's "The Ultimate Guide to Bias Binding" parts 1 and 2, a few times, to learn everything I needed to know about bias binding to successfully install my binding. Thank you for making and sharing these resources Lauren!


As you can see, we had a ton of fun taking pictures together and I love how the final garments turned out. I would certainly make them all again!


Cost to Make:
patterns - $5 
fabric - $74 value
thread - $5
TOTAL: $84 value

Time estimate to make all three garments: 10 hours


Photography by K.Willerick Photography.

This post was a paid partnership. Crystal was a joy to work with and I would order her fabric again.
QuickEdit
Marissa
0 Comments

Sheona Dress with Pockets


I love my new Sheona dress and as a bonus, it has pockets! You can read my full tutorial and get the FREE pocket pattern piece on the AK Patterns blog here.

The Sheona has simple style lines and allows me to prominently feature fabric I love. I was careful with the floral pattern placement and really like how it appears to be climbing up the sides of my dress.

I did make a few adjustments to the pattern to get the best fit for my body shape, bringing the waist in an inch on both the front and back pattern pieces and using a French curve to grade out about 3 inches above and 4 inches below my waist. One additional adjustment I would make in the future is to add a bit more ease to the hips.

You can read all the details on how I added pockets to my Sheona dress on the AK Patterns blog here.

Pattern: Sheona Dress with 3/4 length sleeves
Size: 8
Fabric used: Liverpool polyester knit
Time estimate: 4 hours, with fit adjustments

Cost to Make:
pattern - $10 estimated value
pattern printing - $2 estimated value
fabric - $13
thread - $5
TOTAL: $30 value

This pattern was gifted to me in return for a blog post and all opinions are my own. I do truly love my new dress!
QuickEdit
Marissa
0 Comments

Golf Outfit - Pacific Pullover


Once I had the perfect golf skirt I needed an athletic, collared top to pair it with. And the GreenStyle Creations Pacific Pullover fit the bill perfectly. Thankfully, like the Pace Skirt, this pattern was also linked to fabric recommendations by The Fabric Fairy and I purchased both.

Since this was a .pdf pattern I had the copy shop file printed online and shipped to me. When I have enough lead time I much prefer this to printing patterns at home which, in my opinion, are less accurate to the original shape due to taping together many small sheets of paper. I prefer to block cut my patterns, pin them together at what would be the seam lines for my size, and fit the pattern to my body instead of making a toile. The problem to using this method with .pdf patterns printed on paper is that paper isn't nearly as flexible as tissue or fabric and it's difficult to get a good idea of fit.


My measurements ranged across the three smallest sizes and, with a rough pattern fitting, I decided to cut the pattern using a straight size small. I should have gone the extra mile here and done a pin fitting of my fabric pieces, instead of plowing ahead with sewing. Wrong decision! I quickly realized the top was going to be much too boxy for the fitted athletic look I was going for. I tried to make it work with a few small adjustments but ultimately needed to rip out what I had done and start fresh.

After ripping out all the seams, grading the pieces from a small in the hips to an extra extra small in the waist and an extra small in the bust, and reassembling the top I was much happier with the fit. As I sewed I tried to add extra finishing touches like grading seams, understitching, using stay tape in the shoulder seams and hem tape in the hem.


This pattern is drafted for someone 5'7" and I am 5'1" so I immediately removed 4" from the shorten line in the middle of the pattern pieces. This was far too much and I would only remove 2" in the future. Thankfully I plan to tuck this top into my Pace Skirt so it will still work for what I have in mind.

This was my first time sewing with supplex lycra and I'm glad it was so forgiving after all my seam ripping! It is said to be wicking, but with its microsueded back it was also a bit difficult to topstitch.


Ultimately I am really happy with this top and now that I have the fit issues figured out I can certainly see myself making a few additional versions of this top. When I do make it again I might try a more traditional finish to the collar piece as I don't find the twill tape the pattern called for forgiving enough.


Pattern: GreenStyle Creations Pacific Pullover
Size: XXS-Small
Fabric used: Beyond Tango Red Supplex Lycra Jersey Knit, 90% Hi-Wick Microfiber Supplex Nylon/10% Lycra
Time estimate: 8 hours (from the second start!)

Cost to make:
pattern - $10
pattern printing - $7.50
fabric - $14.50
thread and zipper - from my stash
TOTAL: $32
QuickEdit
Marissa
1 Comments

Golf Outfit - Pace Skirt


Last year I started joining my husband when he went golfing. I drove the golf cart, he golfed, and we both enjoyed escaping the city for a few hours. Golf quickly became something we enjoyed doing together and this year he talked me into getting my own set of clubs (I found a petite set!). Obviously I needed a new outfit to go with my new hobby and I quickly found GreenStyle Creations Pace Skirt, the perfect feminine athletic wear!

I haven't made a lot of athletic wear before and was glad GreenStyle Creations linked potential fabric pairings on the pattern listing page. I was thrilled to find The Fabric Fairy and browse through all the fabric options. I fell in love with this red and navy checkered stretch woven and planned the rest of my outfit around it. Sadly, there was only one yard left and that later became a bit of an issue.


Based on the pattern measurements I needed a size 6 at my waist and a size 8 at my hips. Given the number of pattern pieces and potential complexity of grading between sizes I decided to make a straight size eight - after all, this pattern was drafted for knits and negative ease.

When I went to cut out the lower skirt I didn't have quite enough fabric width. But I was determined to make this piece of fabric work, so I reduced each of the three side pleats by a 1/2" for a total of 1 1/2" inches. I also spent a lot of time intentionally placing and cutting the remaining pattern pieces for the best pattern matching.


I made the shorts version, with pockets for tees, and the standard rise. I did not include the crotch gusset. The one issue I had, of my own making, was sewing the top of the waistband with a short, straight stitch. I thought it would create a nice finish, but it didn't allow for enough stretch. Now I have to shimmy to get into my Pace Skirt!


This was such a fun and rewarding sew. I love how it turned out and will certainly make other versions in the future. The only change I would make, in addition to using a true stretch stitch at the waistband, is to remove 3/8" from the center of the front skirt panel and grade it out to nothing at the side.

Now to work on my golf swing... And stay tuned to hear all about the Pacific Pullover I paired with my paired with my Pace Skirt to complete the look.


Size: 8
Fabric used: shorts - Zen Poseidon Blue Nylon Spandex Athletic Jersey Knit, 88% ATY Nylon/12% Spandex
                       skirt - Red/Navy Checkers Stretch Woven (out of stock)
Time estimate: 8 hours

Cost to make:
pattern - $10
pattern printing - $4
fabric - $31.50
thread - from my stash
TOTAL: $45.50
QuickEdit
Marissa
0 Comments

Me-Made-May 2020


Week 1

This was the second year I participated in Me-Made-May and I had even more fun than the first year. Why you ask? I had so many more me-made garments to choose from this year and they were pieces that fit my personal style better. However, because I was working from home, I found that I wasn't wearing as many business or business casual garments as I did when I worked in a more traditional office setting.

Week 2

Focusing on wearing me-made, me-mended, and me-tailored items was a refreshing change of pace in my work from home wardrobe, which had admittedly become mostly active wear. I told myself I would work out each day and therefore needed to wear active wear, but in reality that only happened a handful of times in April. Putting on a nice blouse or dress each morning in May helped me focus on work and certainly looked better in all those video calls.

Week 3

What I love about Me-Made-May, in addition to the alliteration which makes my advertising heart beat, is the Midwest variety of weather - giving me opportunity to wear almost all types of garments I've made.

Week 4

What got multiple wears this year?

  • Chai Tee in Rifle Paper Co. floral rayon
  • Meg Top in Rifle Paper Co. floral rayon
  • Ogden Cami(s) in Lady McElroy stretch crepe and JoAnn rayon


What did I wear this year and last?

  • Fringe Dress in Rifle Paper Co. floral rayon
  • M7542 in blue and white striped shirting from JoAnn
  • S7705 vintage wrap dress in abstract New Rainbow Fabrics
  • Blackwood Cardigan in jersey knit from Mood
  • S5875 off-the-shoulder bamboo knit from Mood
  • Halifax Hoodie in textured knit from JoAnn
QuickEdit
Marissa
0 Comments

Whitney Top - Pattern Test


I recently learned that the Greek independent pattern company AK Patterns names each of their patterns after a real sewist and shares a bit about that person in the pattern materials. How fun is that?! I was so thrilled to be selected to help test the Whitney, a wrap dress and top, not just because it is such a cute and feminine wrap, but because I adore my sewing friend Whitney. Whitney and I are both members of our local ASDP Chapter. She is always willing to help and is such an encouragement.

The Whitney is designed for knit fabrics making it very comfortable to wear and easy to fit. I made my Whitney wrap top out of a medium weight ponte knit knowing such a sturdy fabric would help the scallops keep their shape. In fact, I ended up not using any stabilizer in my scallops, ties, or facing  pieces because the fabric was so strong, and already quite heavy.


I found the pattern instructions for the Whitney very helpful and only made one slight adjustment when I sewed the scallops. Instead of using the drawing guide to outline the seamline on my scallops, I pinned the guide to the fabric and slowly sewed around the paper. After trimming, steaming, and using my clapper I love how they turned out.


My only critique is that when making this pattern again I would use ribbon for the interior ties. It was difficult for me to get the fabric ties turned inside out and sometimes I can see them through the exterior fabric.

Overall the Whitney top is a big win for me and my wardrobe. Made in a soft blush pink I plan to wear this most seasons, dressed up for work or down for casual date nights. The scallop feature makes this a pattern I would recommend for a moderate to advanced sewist.


Size: 8
Content: 67% rayon 29% nylon 4% spandex
Care: machine wash gentle cold, line dry, cool iron

Time estimate:
Printing, assembling, and cutting out the pattern - 2 hours
Sewing the garment - 8 hours
TOTAL: 10 hours

Cost to make:
pattern - $12 value, gifted to me
fabric - $35
thread - from my stash
TOTAL: $47 value

The Whitney pattern was gifted to me in return for testing it for its release. It was such an honor to test the Whitney and I truly love my new top.
QuickEdit
Marissa
0 Comments

Meg Top - Pattern Hack


It is hard to describe just exactly how much I love a good floral print - especially a Rifle Paper Co. floral. That's why I love the Meg Dress and Top pattern, with it's simple style lines, for showcasing my favorite floral patterns!


I made a slight adjustment to the Meg pattern, replacing the higher neckline with a soft V-neckline. You can read my tutorial on the AK Patterns website here.

This pattern went together very quickly and easily. I would recommend it for a sewist at any skill level. And changing the neckline didn't add any time to the construction of my new top.


Size: 8

Time estimate
pattern printing, assembly and cutting - 1 hour
fabric cutting - 1 hour, carefully pattern matching
garment construction - 2 hours
TOTAL: 4 hours

Cost to make top
pattern - gifted ($12 value)
fabric - $26
thread - from my stash
TOTAL: $38 value

This pattern was gifted to me in return for a blog post and this post contains affiliate links. I do truly love my new top and thank you for your support!
QuickEdit
Marissa
0 Comments

May Flowers - Chai Tee


I struggle to cut into beautiful and special fabric. I've been storing a few floral fabrics, like this English Garden floral rayon from Rifle Paper Company, for years. Thankfully, I'd already made a toile of the Chai tee and knew what adjustments I needed to make for the perfect final garment.

From my first make I learned that I needed to grade from a size small on the top half of the garment to a medium in the hips. I also learned that it was important to make sure the shoulder pleats point outward so they lay correctly over the bust.


This was a fast make and required very little fabric but, with only a yard of this gorgeous print, I was still short just a bit. Luckily I was able to find a coordinating fabric in my stash that could be used for the interior yoke pieces.

I love how this make turned out! The Chai tee is easy to style with slacks and a blazer for work or dark skinny jeans for a casual weekend look. And without any closures this soft rayon blouse is easy to wear too. I see many more Chai tees in my future!


Time estimate: 3 hours (including fabric cutting)
Size: small/medium
Material used: rayon, 1 yard, plus some extra!
Care instructions: machine wash, tumble dry low

Cost to make top:
pattern - pre-owned ($15 value)
fabric - gifted from Sweet Red Poppy, thank you! ($15 value)
thread - from my stash
Total: FREE ($30 value)
QuickEdit
Marissa
0 Comments

Leggings Comparison


I hope you and yours are happy and healthy. Thank you for joining me on my sewing journey, I hope it brings you some joy in this trying season.

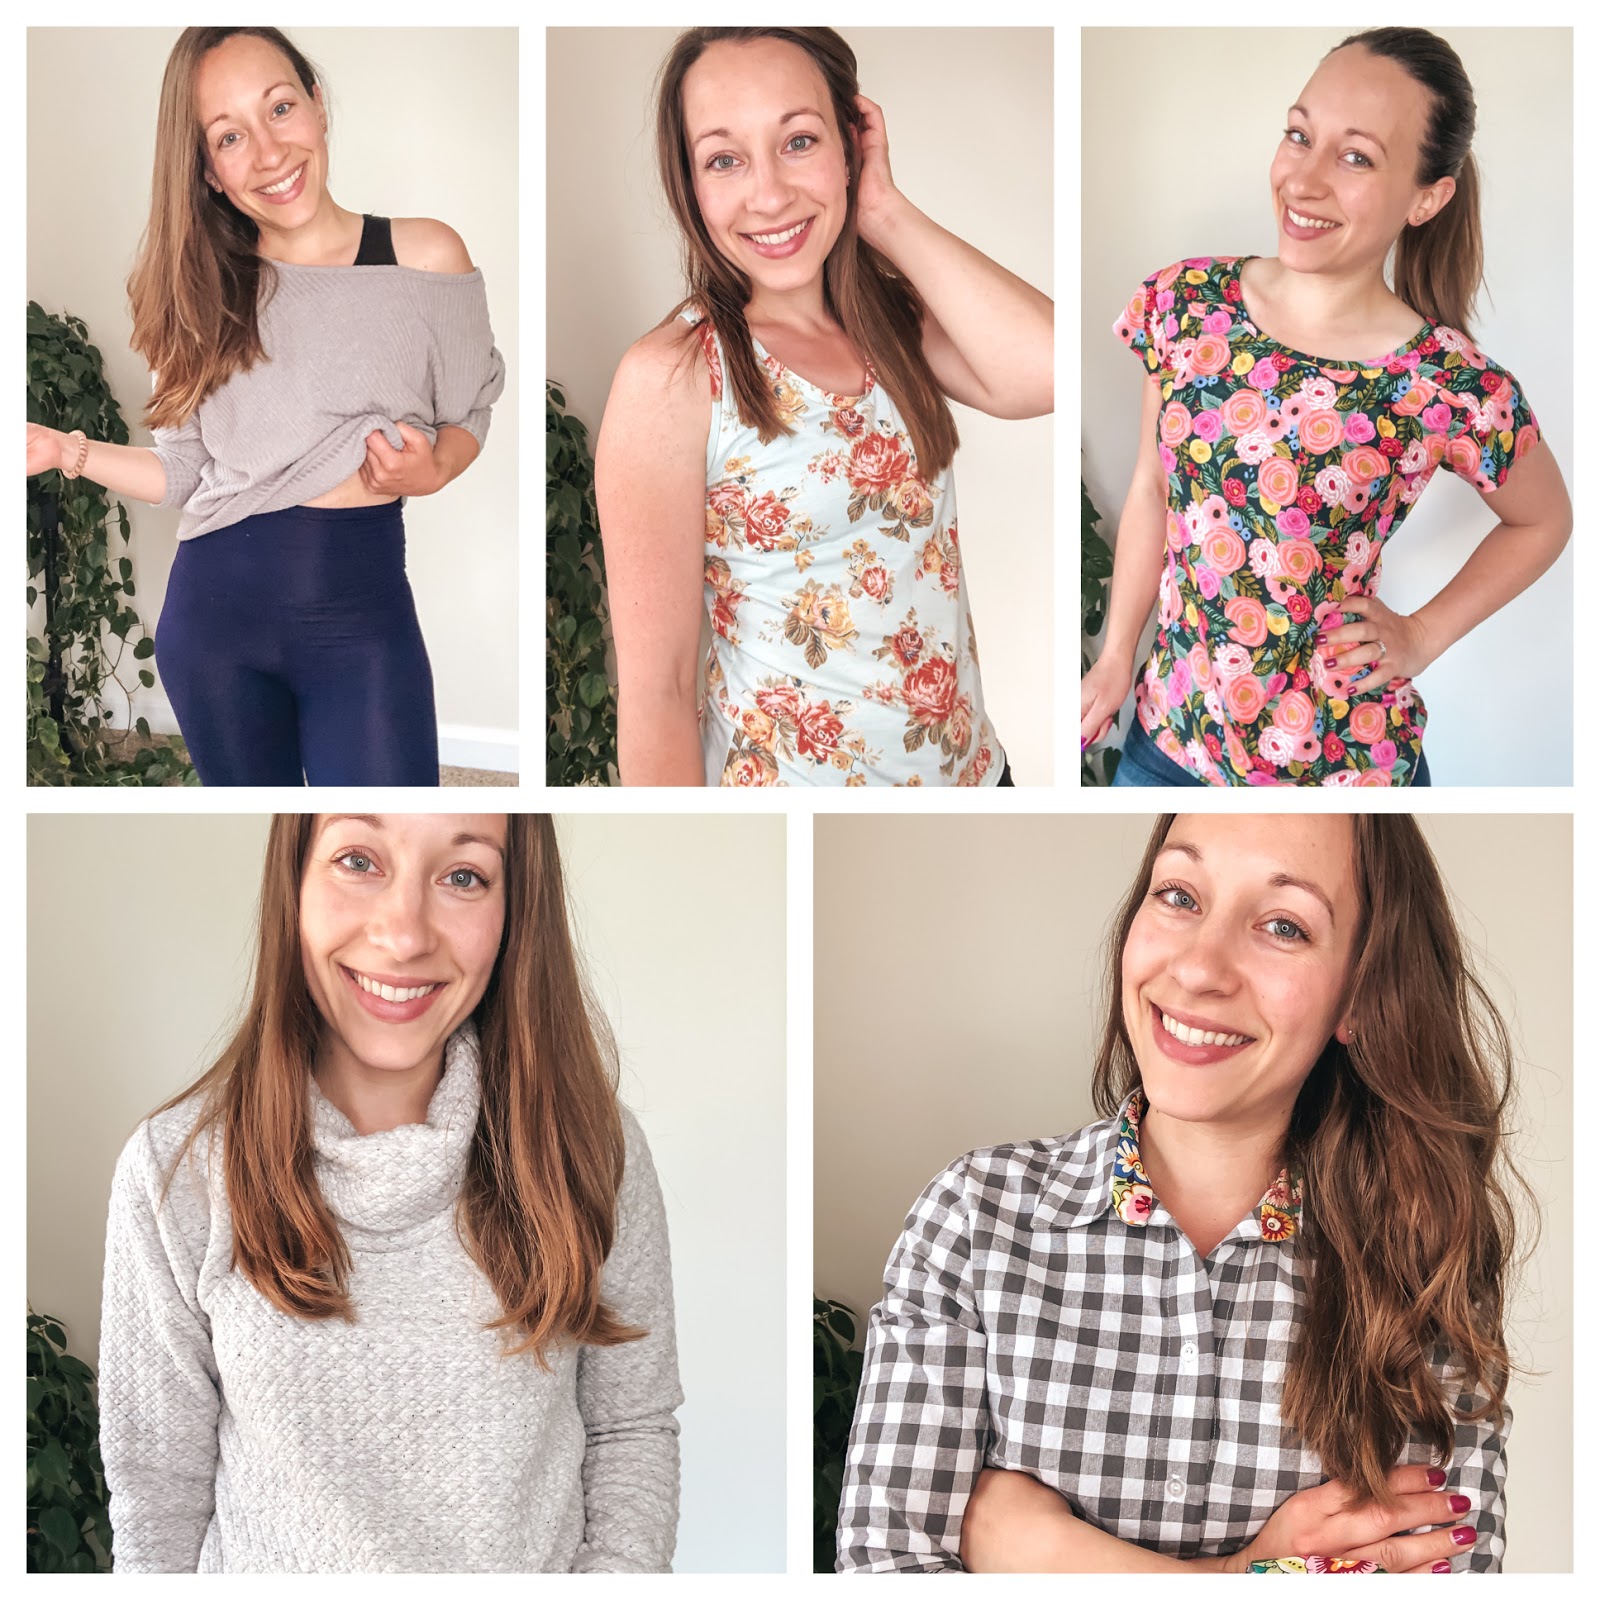
As I've transitioned to working exclusively from home I've been wearing a lot more casual garments than I usually do. Thankfully I had a few different legging patterns and coordinating knit fabric options in my stash and within a few hours I had an extended work-from-home wardrobe.

Before I started making my own leggings I had a terrible time trying to find ready-to-wear leggings that didn't walk down my legs. As I'm sure you know, not all leggings are made the same. Below I outline some of the features of my favorite legging patterns.


Helen's Closet - Avery Leggings
I've made the Avery leggings once before and found that the pattern ran small, so I sized up from my usual measurements and made a size medium in a deluxe viscose jersey knit with a high waistband and ankle length leg. Sizing up helped to eliminate any laugh lines across the front of my leggings and I would make a size medium again. Unique to this pattern, the Avery leggings have a gusset allowing for a wide range of motion. I also enjoy the high waisted option, which lends itself to a bit of tummy control and curve smoothing. However, the high waisted option is just a bit too tall for me and I would reduce it by about an inch if I were to make it again. Once I learned to size up I really liked these leggings.

Pattern Features
Two waistband heights
Two leg lengths
Gusset
18 1/2" across seat (size medium)
$14


Patterns for Pirates - Peg Legs
This was the first time I made a pair of Peg Legs, but I've heard swimming reviews of them online. These came together very quickly and were a classic legging pattern. Unique to this pattern, there wasn't a waistband piece. Instead I cut waistband pieces unique to my size and waistband weight. Additionally, elastic is inserted at the seam connecting the waistband to the leggings. I made the size large with the high waistband option at ankle length. Construction was fairly simple and I would certainly make these again.

Pattern Features
Two waistband heights
Four leg lengths
21 1/2" across seat (size large)
FREE


Laela Jeyne - Taylor Leggings
I received the Taylor leggings pattern and coordinating fabric in the September 2019 Sewciety Box. I can't say enough good things about these leggings, which quickly became a wardrobe staple. I made a size medium in turquoise athletic knit with the medium height waistband and cropped the length at the ankle. They were easy to make with clear instructions and are easy to wear no matter how many snacks I've had. This pattern was the widest of the three through the hips, exactly what I need in a fitted legging pattern. Unique to this pattern, the Taylor leggings also come with a maternity waistband option.

Pattern Features
Three waistband heights
Three leg lengths
22 1/4" across seat (size medium)
$12

I would be hard-pressed to say which of these leggings patterns is my favorite; I think they each have their own unique features and I anticipate reaching for different leggings depending on the occasion. That said, my mom has requested a pair of matching Taylor leggings and I understand why she wanted a pair!

A few things I was reminded of in making these leggings is to be mindful of the percentage of stretch a legging pattern requires and the percentage of stretch of each fabric option. Also to keep top of mind, the opacity of fabric when it is stretched across your body. We don't want any surprises!

Happy sewing, and happy lounging.

This post contains affiliate links. Thanks for your support!
QuickEdit
Marissa
0 Comments

Fit and Flare Easter Dress


Easter is am important holiday to my family and one we always celebrate with a new outfit to wear to church. This year it seems we won't be celebrating in person, but I'm glad to have made a new friend through the making of my dress.

Mackenzie, of Bobbin and Button, and I decided to collaborate and make the same Easter dress. Sticking with our desire to use resources we already owned we went with a New Look pattern (6447) she owned and I used fabric from my stash. Actually, this raspberry wool crepe and white silk lining were gifted to me by a fellow sewist making this dress a perfect representation of the joy and friendship I've found in the sewing community.


As it turns out, Mackenzie and I are much the same size, needing to grade the bodice from a size 10 at the top to a size 12 at the waist. I made a size 12 in the skirt, used the size 12 darts, and of course tissue and pin fit the bodice before cutting into my beautiful fabric. You can see the whole process in my Instagram story highlights.

I truly love how this dress turned out. It is nicely fitted without being too tight and would be appropriate for me to wear to church, work, and a variety of other occasions. And the fabric combination of wool crepe and silk make this dress comfortable to wear in any environment. I was initially concerned about the high, boat neckline but it fits quite comfortably on me and I'm thrilled with just how invisible my zipper really is.

The most difficulty this pattern gave me was in keeping the midriff piece sorted in my mind. I think there was a slight difference between the top and bottom, but it was difficult to tell after working with the fabric a bit. I think this may become a tried and true pattern for me and I'm having a hard time thinking about what I would change in the future. That's not true; I might add pockets next time!

If you're looking for a classic dress pattern with fairly easy to interpret instructions (I only had to call my mom to interpret one direction!) I would highly recommend this pattern. And if you're looking for encouragement and some quality sewing advice, go check out Mackenzie's blog.


Time estimate: 15 hours
Size: 10-12
Fabric: raspberry wool crepe, white silk
Care instructions: dry cleaned

Cost to make:
pattern: $9
fabric: gifted
zipper: $4
*used stabilizer and thread from my stash
TOTAL: $13
QuickEdit
Marissa
0 Comments
[name=Marissa] [img=//4.bp.blogspot.com/-PZLYzJMG34Y/XiU1zvVCSSI/AAAAAAAARmg/Fom6rY8JYb4c5J4_WgJ0cOTlrVOsq1nFgCK4BGAYYCw/s355/NielsenFamily19Final-11%2B%25282%2529.jpg] [description=Hi, I'm Marissa, a hobby seamstress. Thanks for joining me on my journey as I create a handmade wardrobe. Like and follow via the social media links below to see my newest makes!] [(instagram=https://www.instagram.com/sew_help_me)] [(facebook=https://www.facebook.com/SewHelpMebyMarissa)] [(bloglovin=https://www.bloglovin.com/blogs/sew-help-me-19274771)]