Showing posts with label button up. Show all posts
Cashmerette Vernon - TomKat Stitchery Shirt Making 101

Cashmerette Vernon - TomKat Stitchery Shirt Making 101


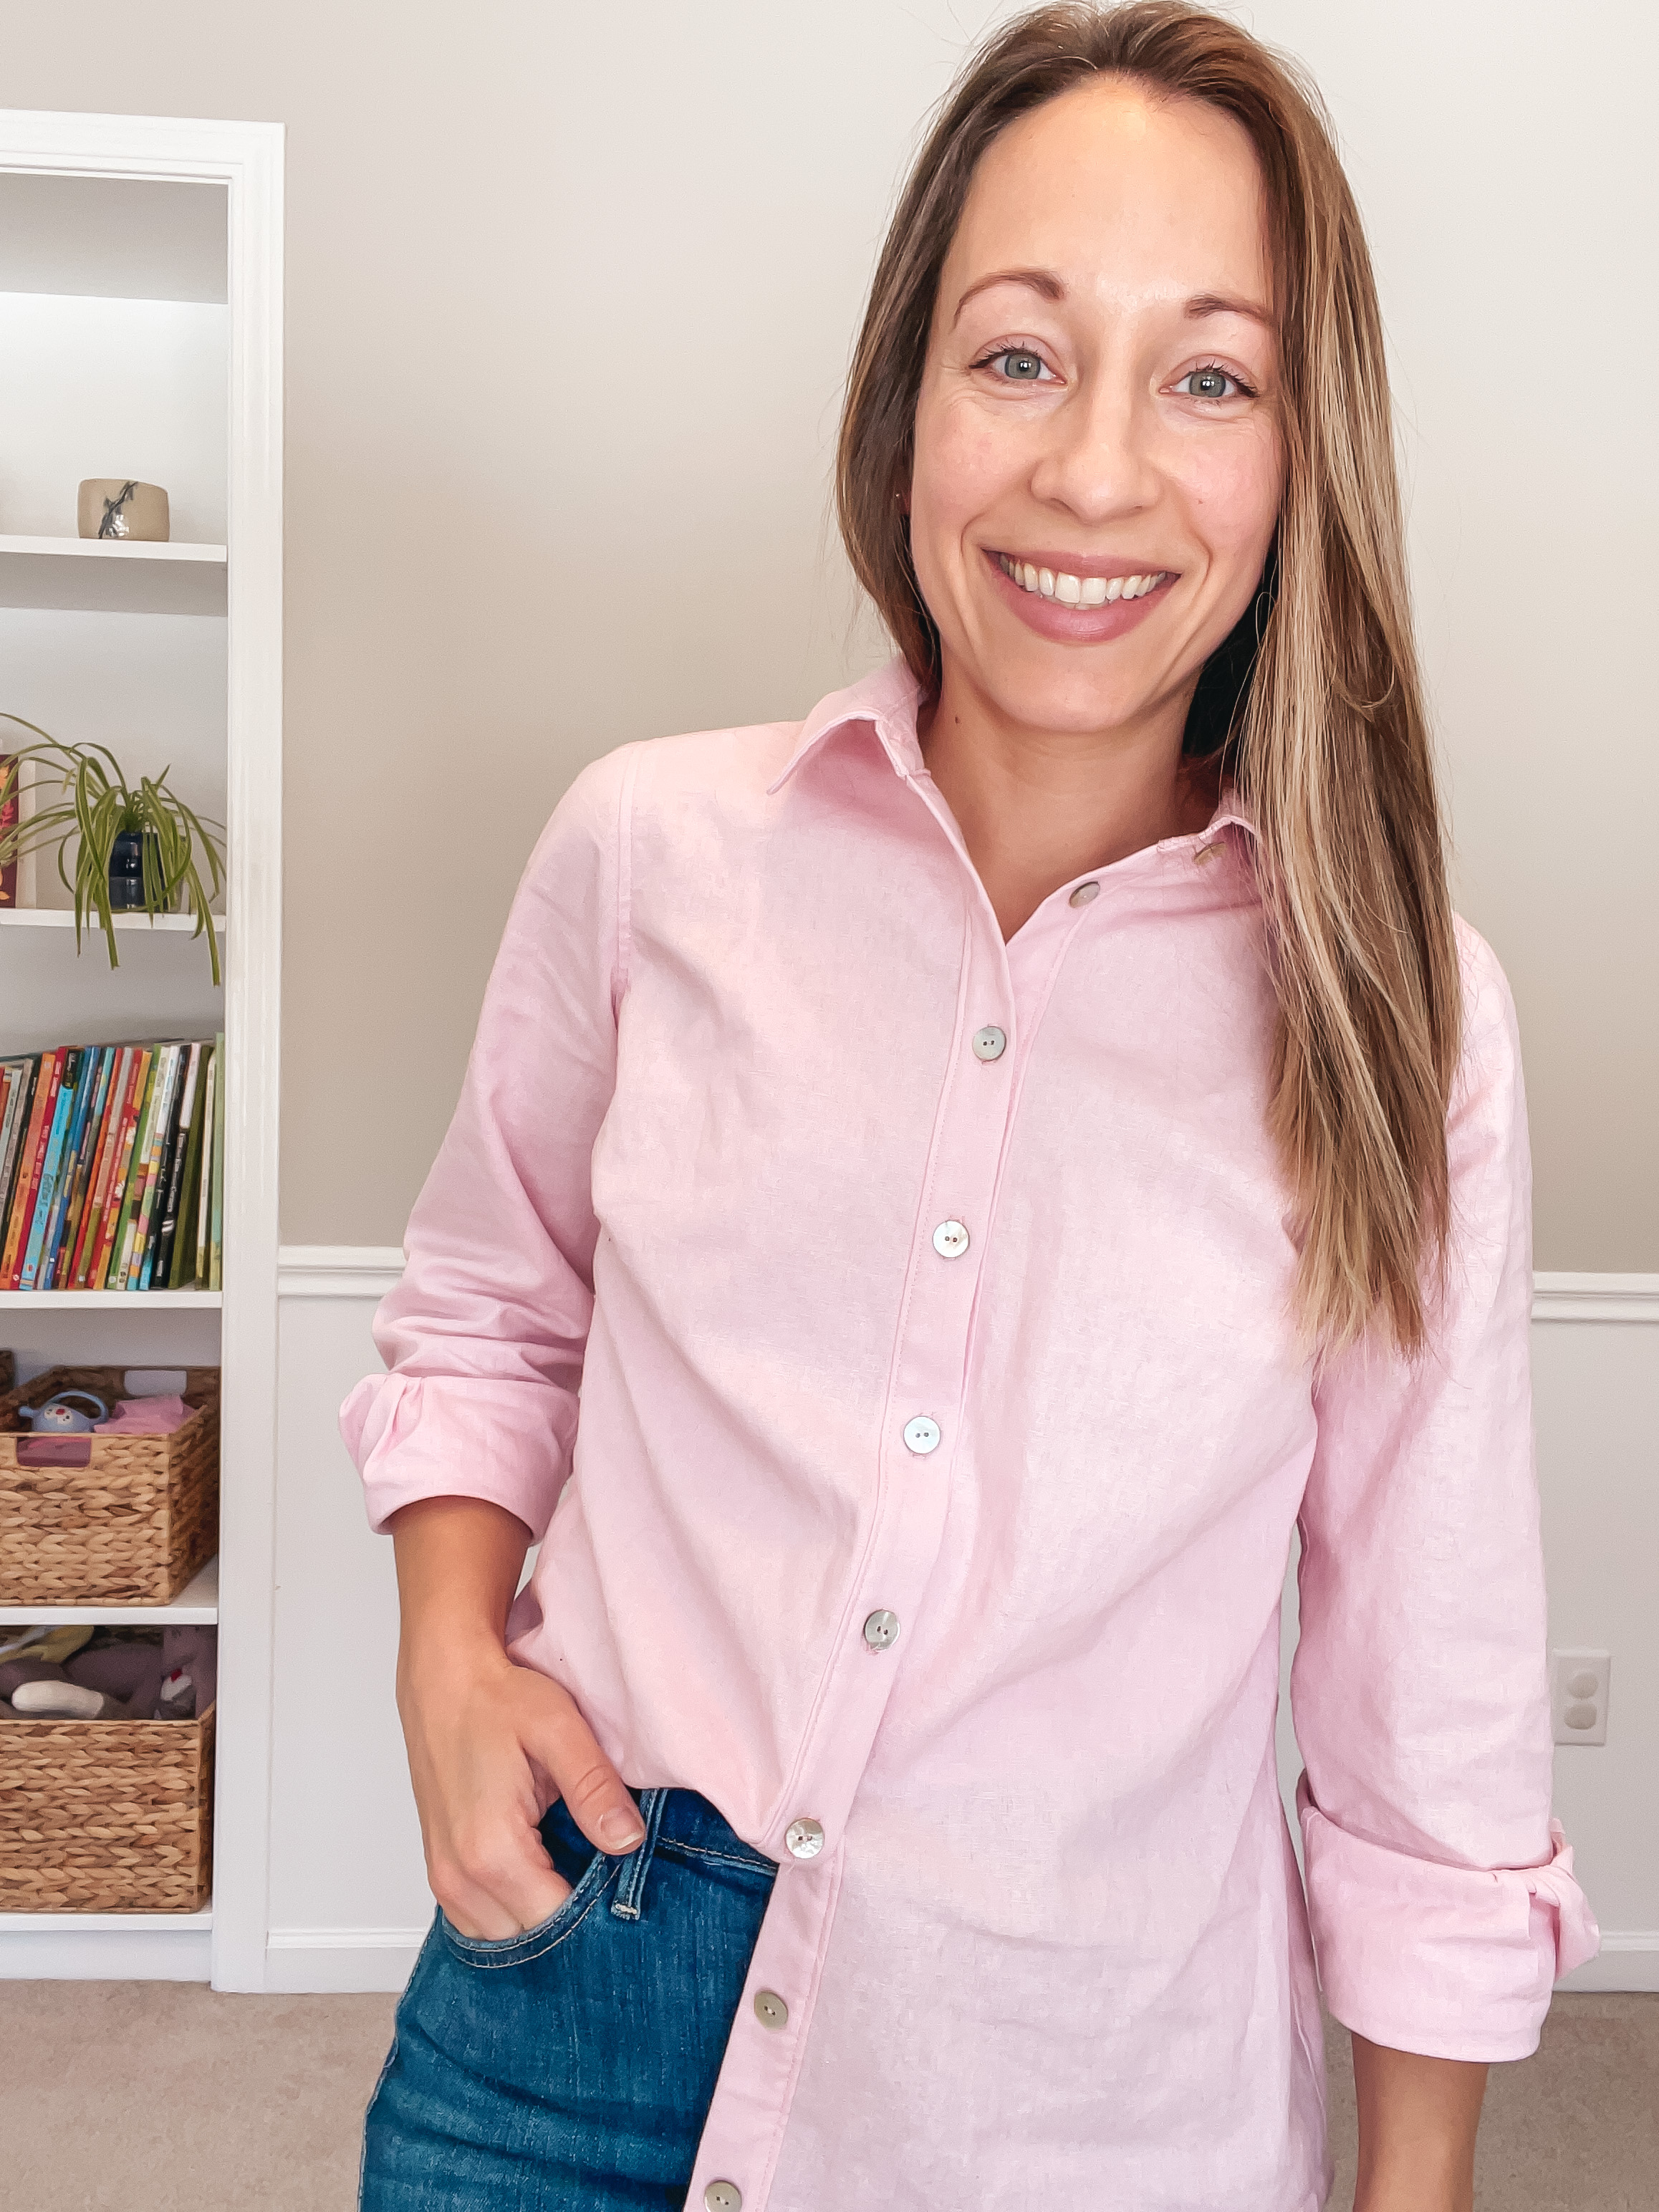
I had the great pleasure of spending this weekend in the Indianapolis area sewing with my friend Whitney from TomKat Stitchery, and almost a dozen new sewing friends! I took Whitney's Shirt Making 101 class, love my final shirt, and had a blast making it.

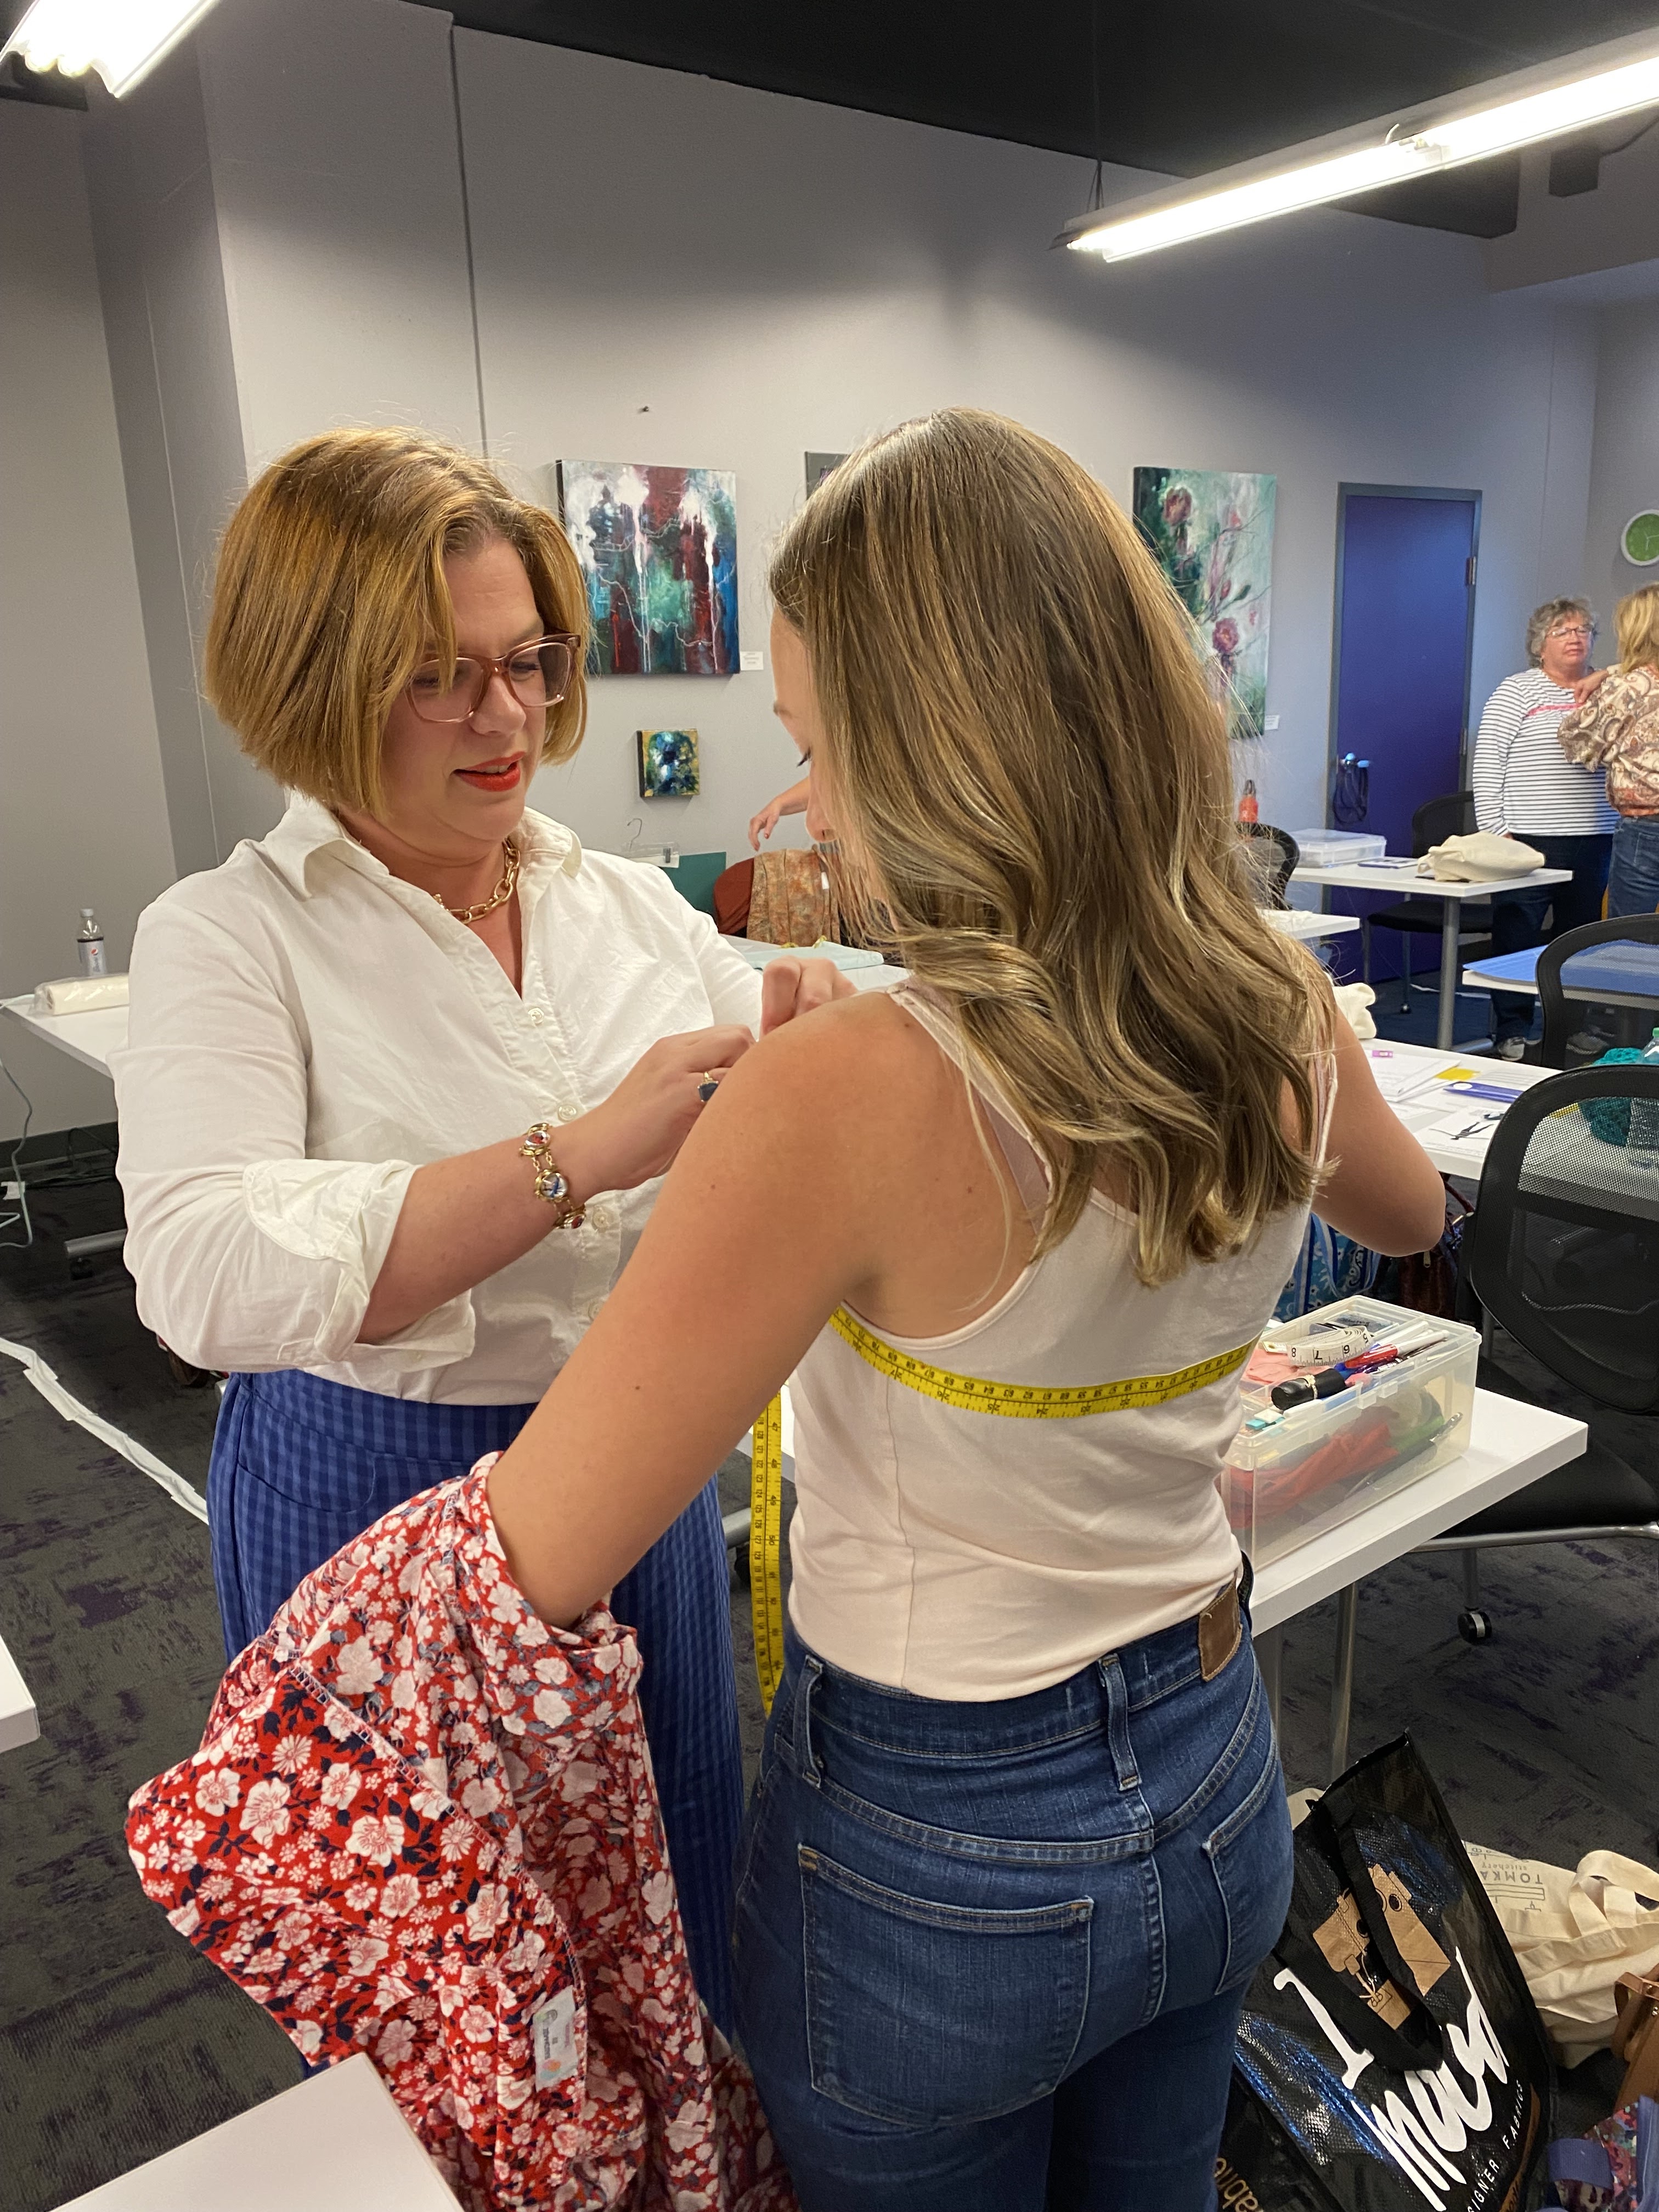
The first evening was focused on fit. Whitney helped take our measurements and assess which size would fit us best. She had prepared muslins in advance for us to try on based on our measures and that helped us speed through any adjustments we needed to make. I fell into the size 6 range and, although this pattern offers much more ease than I usually wear, I liked that style and decided not to size down. I did shortened the sleeves 1" for length and and additional 1 3/4" to use the longer cuffs. I also shortened the body 1" at the lengthen/shorten line and made a 3/8" broad shoulder adjustment.


Our homework on the first night included cutting out our adjusted pattern pieces and interfacing so we could start sewing first thing on the second day. Whitney didn't follow the order of construction in the pattern instructions and it was very interesting to learn the order of steps she prefers to construct her shirts. By the end of the second day our shirts were mostly assembled and looked like shirts. I think my biggest takeaway from the second day was, in addition to using the burrito method for the yolk piece, Whitney also used a modified burrito method on the collar stand and cuffs. I don't think I'll ever make a button up shirt another way!

Of course we finished day two with a field trip to True Cotton, a local fabric shop that supplied the materials for our course. I don't think anyone, myself included, left empty handed. Hopefully you'll see makes with those fun fabrics soon.

The third and final day we focused on the finishing touches including hemming our shirts with bias tape, buttons and button holes. I'm so thrilled with how well my shirt turned out and can't wait for the linen to soften with time.


Pattern: Cashmerette Vernon
Size: 6, shortened in the sleeves and body with a broad shoulder adjustment
Fabric: linen cotton blend from True Cotton
Time: I was able to finish my button up over the course of the three day workshop

Cost to Make: Whitney's class included all supplies needed, some fun swag, and food during the day - approximately $520 value

Read more »
Marissa
1 Comments
Mens Slim Fit Button Up Shirt

Mens Slim Fit Button Up Shirt


Paul wears button up shirts at least six days a week, but has trouble finding a shirt that is slim enough for him. I was so glad when I saw Simplicity 8753, with a slim fit view and picked it up right away. As soon as I saw this gorgeous Italian cotton on super sale at my local fabric shop I just knew it would be a perfect match for the S8753 and I had to have it for Paul.

Thankfully, I had recently taken the Palmer Pletsch Tissue Fitting button up shirt course with Evelyn and was able to implement those techniques to make a perfectly fitted shirt for Paul. I started by taking his measurements and learned that Paul was a size 38 in the chest but a 34 in the waist. I cut out the tissue pieces in the larger size, pinned them together, and had Paul try it on. I ended up bumping the side seam out to a 36 to allow him more room to move and breathe. I also shortened the sleeves by an inch, then cut out the fabric. Although this plaid is a repeating pattern it is not a balanced plaid so I took extra care in cutting out each piece.

Paul got another fitting once I had the fabric pieces cut out and pinned together. At this point I made a few additional changes, letting out the side seam a bit at the hip and thinning the sleeves by one inch. Then I was ready to sew!


I had the opportunity to try two new-to-me sewing techniques with this pattern, sewing sleeve plackets and flat felled seams. I can't say enough good things about the instructions in this pattern, which led me to gorgeous results and I was thrilled to add a few new sewing skills to my repertoire. One additional thing I really appreciated about this pattern was the additional pattern piece to help aid with button placement - no more wonky button placement! I know this will become a tried-and-true pattern in my collection. If you've been thinking about purchasing this pattern, or own it but haven't made it yet, I can't encourage you enough to give it a try!

The fitting and pattern matching took as much or more time than actually sewing the shirt. I have been practicing slower and more intentional makes and found this one extremely rewarding. Thankfully Paul loves it too!


Time estimate: 20 hours
Size: 38
Fabric used: 1 7/8 yards, Italian cotton
Care instructions: machine wash, tumble dry low

Cost to make
Pattern: $15
Fabric: $16
*used thread from my stash and buttons from my mother's stash
TOTAL: $31

P.S. Check out my Insta stories, @Sew_Help_Me, to see the fitting process step-by-step!

Photos by K.Willerick Photography
Read more »
Marissa
0 Comments
Palmer Pletsch Tissue Fitting - M6750

Palmer Pletsch Tissue Fitting - M6750


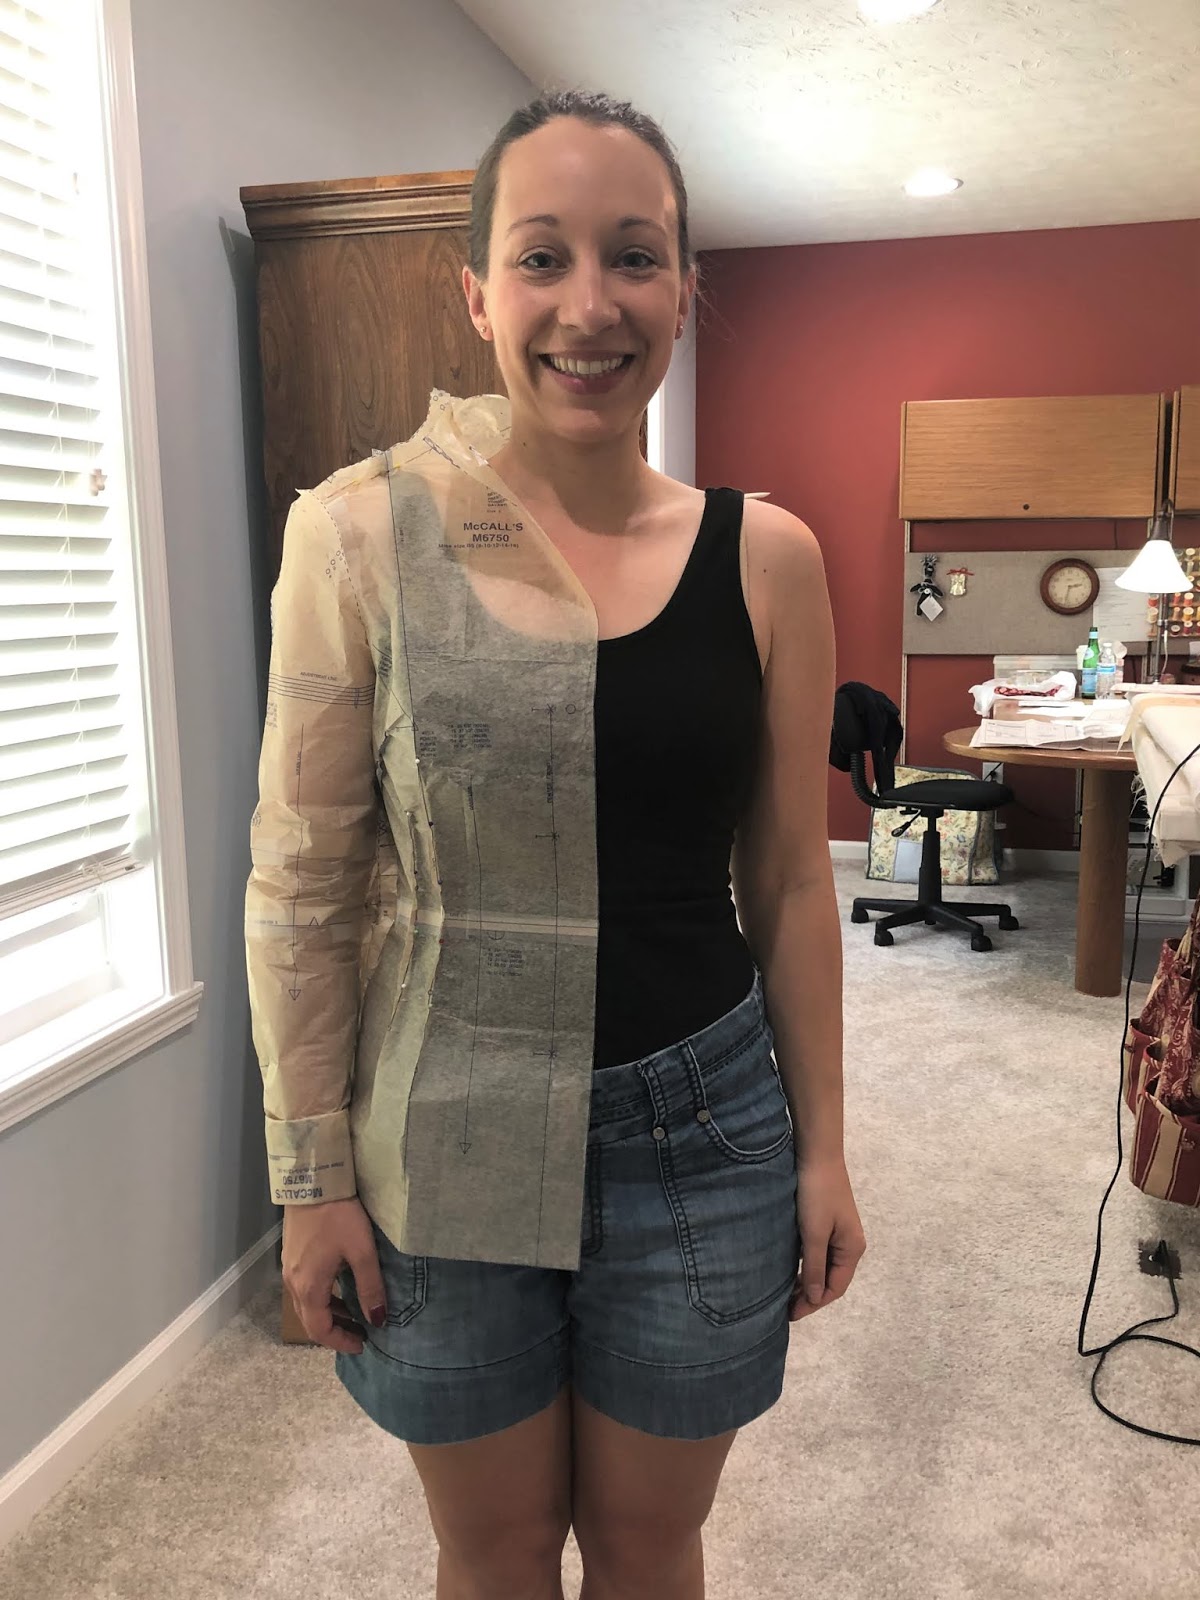
I recently had the opportunity to take a tissue fitting class with a local Palmer Pletsch certified instructor. I have been familiar with the tissue fitting method for some time, but wasn't familiar with the adjustments I needed to make in order to get a well fitted garment. With the help of my teacher I was able to make the best fitting button up I've ever worn!

I used the McCall's 6750 Palmer Pletsch button up shirt pattern for this class. The unique thing about using Palmer Pletsch patterns is they include fit lines on the tissue. These fit lines were an incredibly helpful tool as I learned how to make the adjustments I needed.

We started with taking new measurements for me, referencing the size and finished measurements on the pattern envelope, and rough cutting the pattern. Using a red colored pencil I marked seam allowances and pinned out the seam allowance and darts, then tried on the tissue. This first visualization helped me to identify a few fit issues including the need to bring the pattern waist line up to my natural waist and lengthen the bottom of the pattern to keep the original length. I also needed to do a sway back adjustment, bringing the tissue closer to my lower back.


Once these adjustments were made and taped out of my tissue I then needed to fix the darts, making sure they remained parallel to the grainline as indicated on the pattern piece. After making these initial adjustments it was time to cut out my fabric, pin out the seams and darts, and try it on again. The second fitting helped me see a few additional adjustments I needed to make, including a square shoulder adjustment to alleviate some fabric tension across the back of my neck. I also needed to shorten the sleeves, my right side slightly more than my left.


I ended up needing to cut a new back piece and re-pin for a final fitting. It was amazing how much better the final fitting was from the first, and I thought the first fitting was okay. I'm glad to learn how much better it can be! And the goal of sewing my own garments is to get a good fit.


I'm so thankful I took this class and learned how to get a better fit in my handmade garments. I'm looking forward to taking what I've learned and applying it to my future makes. And the silver lining, sewing with a local sewing friend!

I would highly recommend my certified Palmer Pletsch sewing instructor, Evelyn Cummings, if you're in the Indianapolis area. To find a certified sewing instructor in your area visit the Palmer Pletsch website.


Time estimate: 6 hours
Size: 8
Fabric used: cotton blend
Care instructions: machine wash cold, tumble dry low

Cost to make:
Pattern - $5
Fabric - gifted
*buttons, thread, and interfacing from my stash
TOTAL: $5
Read more »
Marissa
2 Comments
Sewaholic Granville Button Up Shirt

Sewaholic Granville Button Up Shirt


I am so fortunate to come from a long line of seamstresses. When I decided to be more intentional about developing my sewing skills this year I new one of the things I wanted to learn was how to sew a button up shirt. In addition to learning how to sew a button stand, collar and collar stand, and placket, a button up shirt is something I wear to work often and would be a great addition to my me-made wardrobe.

After spending a small amount of time searching the sewing community's social media I learned about Sewaholic's Granville shirt pattern, which always came with rave reviews, so I added it to my 2018 Make Nine goals. However, I wasn't confident enough to begin this project on my own so I coordinated a weekend sewing extravaganza with my mom and her sister, my Aunt Karen. These two women are my sewing gurus and I learned a lot from them while making this wearable muslin.


After laying out all of my pattern pieces I realized that I didn't have enough material to make a long sleeved sample so instead I settled for a short sleeved version and will probably still need to practice a placket before I make a final version. In fact, I had so little fabric my mom had to dig up a contrasting from her stash for the collar stand, which turned out to be one of my favorite parts of this shirt!


After reading the pattern back and having a brief tissue fitting with my mom I decided to cut out a size two, carefully folding pattern pieces in case that wasn't my final and correct size. The pattern and instructions were fairly easy to understand and I loved the option of a current style and fit in the traditional format of a tissue pattern with printed paper instructions. However, my one major difficulty with this pattern was the length of the collar stand piece. Between the three of us we just couldn't figure out why it seemed so long, even after pulling out a button up shirt Grandma had made years ago to compare and searching other maker blogs. Eventually I decided to cut off 5/8" from one end of the collar stand, since I was working on a muslin, and the assembly went much smoother from there.


My mom and Aunt Karen were taught to attach the collar to the collar stand before attaching the collar stand to the shirt. I decided to stick with the pattern instructions for my first time using this pattern and attached the collar stand to the shirt, topstitching a portion of the collar in place. I think the method I used from Sewaholic's pattern could make a weak pivot point in the collar and will likely try Mom and Aunt Karen's method next time I make this pattern. One additional tip I learned from Aunt Karen was to put the interfacing inside or on the bottom when possible in case it were to bubble.


As I said above, I ended up making a size two, which fit well throughout the waist and hips, but was far too tight in the shoulders and arms. When I make this pattern again I will make a size four and grade down to a size two for the waist and hips.


I was so glad to have the lightweight red and white button up made in time for Independence Day and wore it a lot that whole week!

In addition to the fabulous family time sewing this shirt I was blessed to have my sister photographing its assembly as well as the final product. Pictured below, my modeling my new make over family vacation in Cincinnati.


Stay tuned for my long sleeved gingham version this fall!

Time estimate: 20 hours
Size: 2
Material used: assumed printed cotton blend, gifted from family friend
Care instructions: machine wash cold, tumble dry low

Cost to make shirt:
pattern - $25
fabric - gifted
buttons and thread from my stash
TOTAL: $25

Photography by K.Willerick Photography. Go check out her site!
Read more »
Marissa
0 Comments
[name=Marissa] [img=https://blogger.googleusercontent.com/img/b/R29vZ2xl/AVvXsEgft-3vDDqLpq4lxEo2Wx4YkE4-TQNU7SAldhEeqsnJ5NGKN48OSU2c-E6TmDZGf5IPiR6oTsNR332bRJ3dZZcIO7bkMkNpuXcp1K9AtFQ5rlu0kfvBzzjk-gyIKt6lGyYAM1HQ5b-z1Xg/s355/NielsenFamily19Final-11+%25282%2529.jpg] [description=Hi, I'm Marissa, a hobby seamstress. Thanks for joining me on my journey as I create a handmade wardrobe. Like and follow via the social media links below to see my newest makes!] [(instagram=https://www.instagram.com/sew_help_me)] [(facebook=https://www.facebook.com/SewHelpMebyMarissa)] [(bloglovin=https://www.bloglovin.com/blogs/sew-help-me-19274771)]