Birthday Dress


I recently had a color analysis and learned I was a “calm summer” and should focus on garment fabrics that are cool, light and muted to highlight my best features. As soon as I saw this beautiful John Kaldor cotton sateen that featured at least three of my best colors I knew it would make the perfect birthday dress!

You can learn all about how I made it on Minerva now. And to make your own special outfits with this beautiful John Kaldor cotton sateen visit my affiliate link.

This fabric was gifted to me in return for a post and this post contains affiliate links. I love my birthday dress and will certainly work with this cotton sateen again! Thank you for your support.
QuickEdit
Marissa
0 Comments

Modern Hanbok


This past weekend I had the great pleasure of celebrating my daughter's first 100 days of life. It's amazing how much she's changed and grown already. As we've fallen into a more regular pattern I've begun to find small amounts of time to sew. I purchased Baby A's formal hanbok for her party online, and was thankful not to have the pressure of getting her dress done on time. However, women's hanboks were quite expensive and I wanted to coordinate with her perfectly so I decided to make my own.

The pattern I used is designed for woven fabrics so once Baby's hanbok came in the mail I took it to my local quilt shop Crimson Tate to find coordinating fabric for my dress. I ended up with a Rashida Coleman-Hale Speckled Metallic Sorbet in pink for the top and Robert Kaufman Metallic Yarn Dyed Essex Linen in emerald for the skirt and love how it coordinated with Baby's outfit.

The pattern instructions and pieces are written in Korean so I leaned heavily on Sewing Therapy's video tutorials - thank you Sara! A few key differences she pointed out about this pattern were new-to-me pattern marks and the need to add seam allowance. I also had a difficult time reading and understanding the size chart - I made a size small but probably should have sized up at least one size and made a medium.

We weren't able to have a large celebration due to the pandemic, but we were able to celebrate in style with our family and couldn't have been more happy. I can only imagine what the next 100 days will hold.

Pattern: Dailylike Adult One-Piece Hanbok
Size: small
Fabric: Rashida Coleman-Hale Speckled Metallic Sorbet (Pink) for the top and Robert Kaufman Metallic Yarn Dyed Essex Linen (Emerald) for the skirt
Time: I would guess 5-8 hours, between watching the video tutorials multiple times, tracing the pattern, cutting and sewing the garment. But it's hard to tell when you try to squeeze all that making into naptime!

Cost to Make:
pattern - $19
fabric - $58
interfacing and thread from my stash
TOTAL: $77
QuickEdit
Marissa
0 Comments

Nursing Tulip Tee


Many generous friends shared their maternity wardrobes with me and it was a huge blessing! I sewed a few maternity items I wanted, but didn't need to make a lot of new garments. However, many of those same friends are still nursing and not ready to part with their nursing tops so I need to make a few nursing friendly options for myself.


Thankfully I had the Patterns for Pirates Tulip Tee in my collection, which comes with a nursing option. Having made this Tulip Tee once before it was straightforward to make, even with the additional modesty layer below the tulip "petals." I used a fusible knit stay tape to achieve the best possible hem along the bottom and sides of the top panels and love the final result. I didn't make any changes to the pattern and can certainly see a few additional versions making their way into my nursing wardrobe.

Click here to see my first version of the Tulip Tee, in a sparkling blush sweatshirt fleece from Minerva.

Pattern: Patterns for Pirates Tulip Tee
Size: small
Fabric: black knit blend, originally from JoAnn
Time: 4-5 hours

Cost to Make:
pattern - previously owned
fabric, stay tape and thread - from stash
TOTAL: FREE
QuickEdit
Marissa
0 Comments

Lavender Heirloom Dress


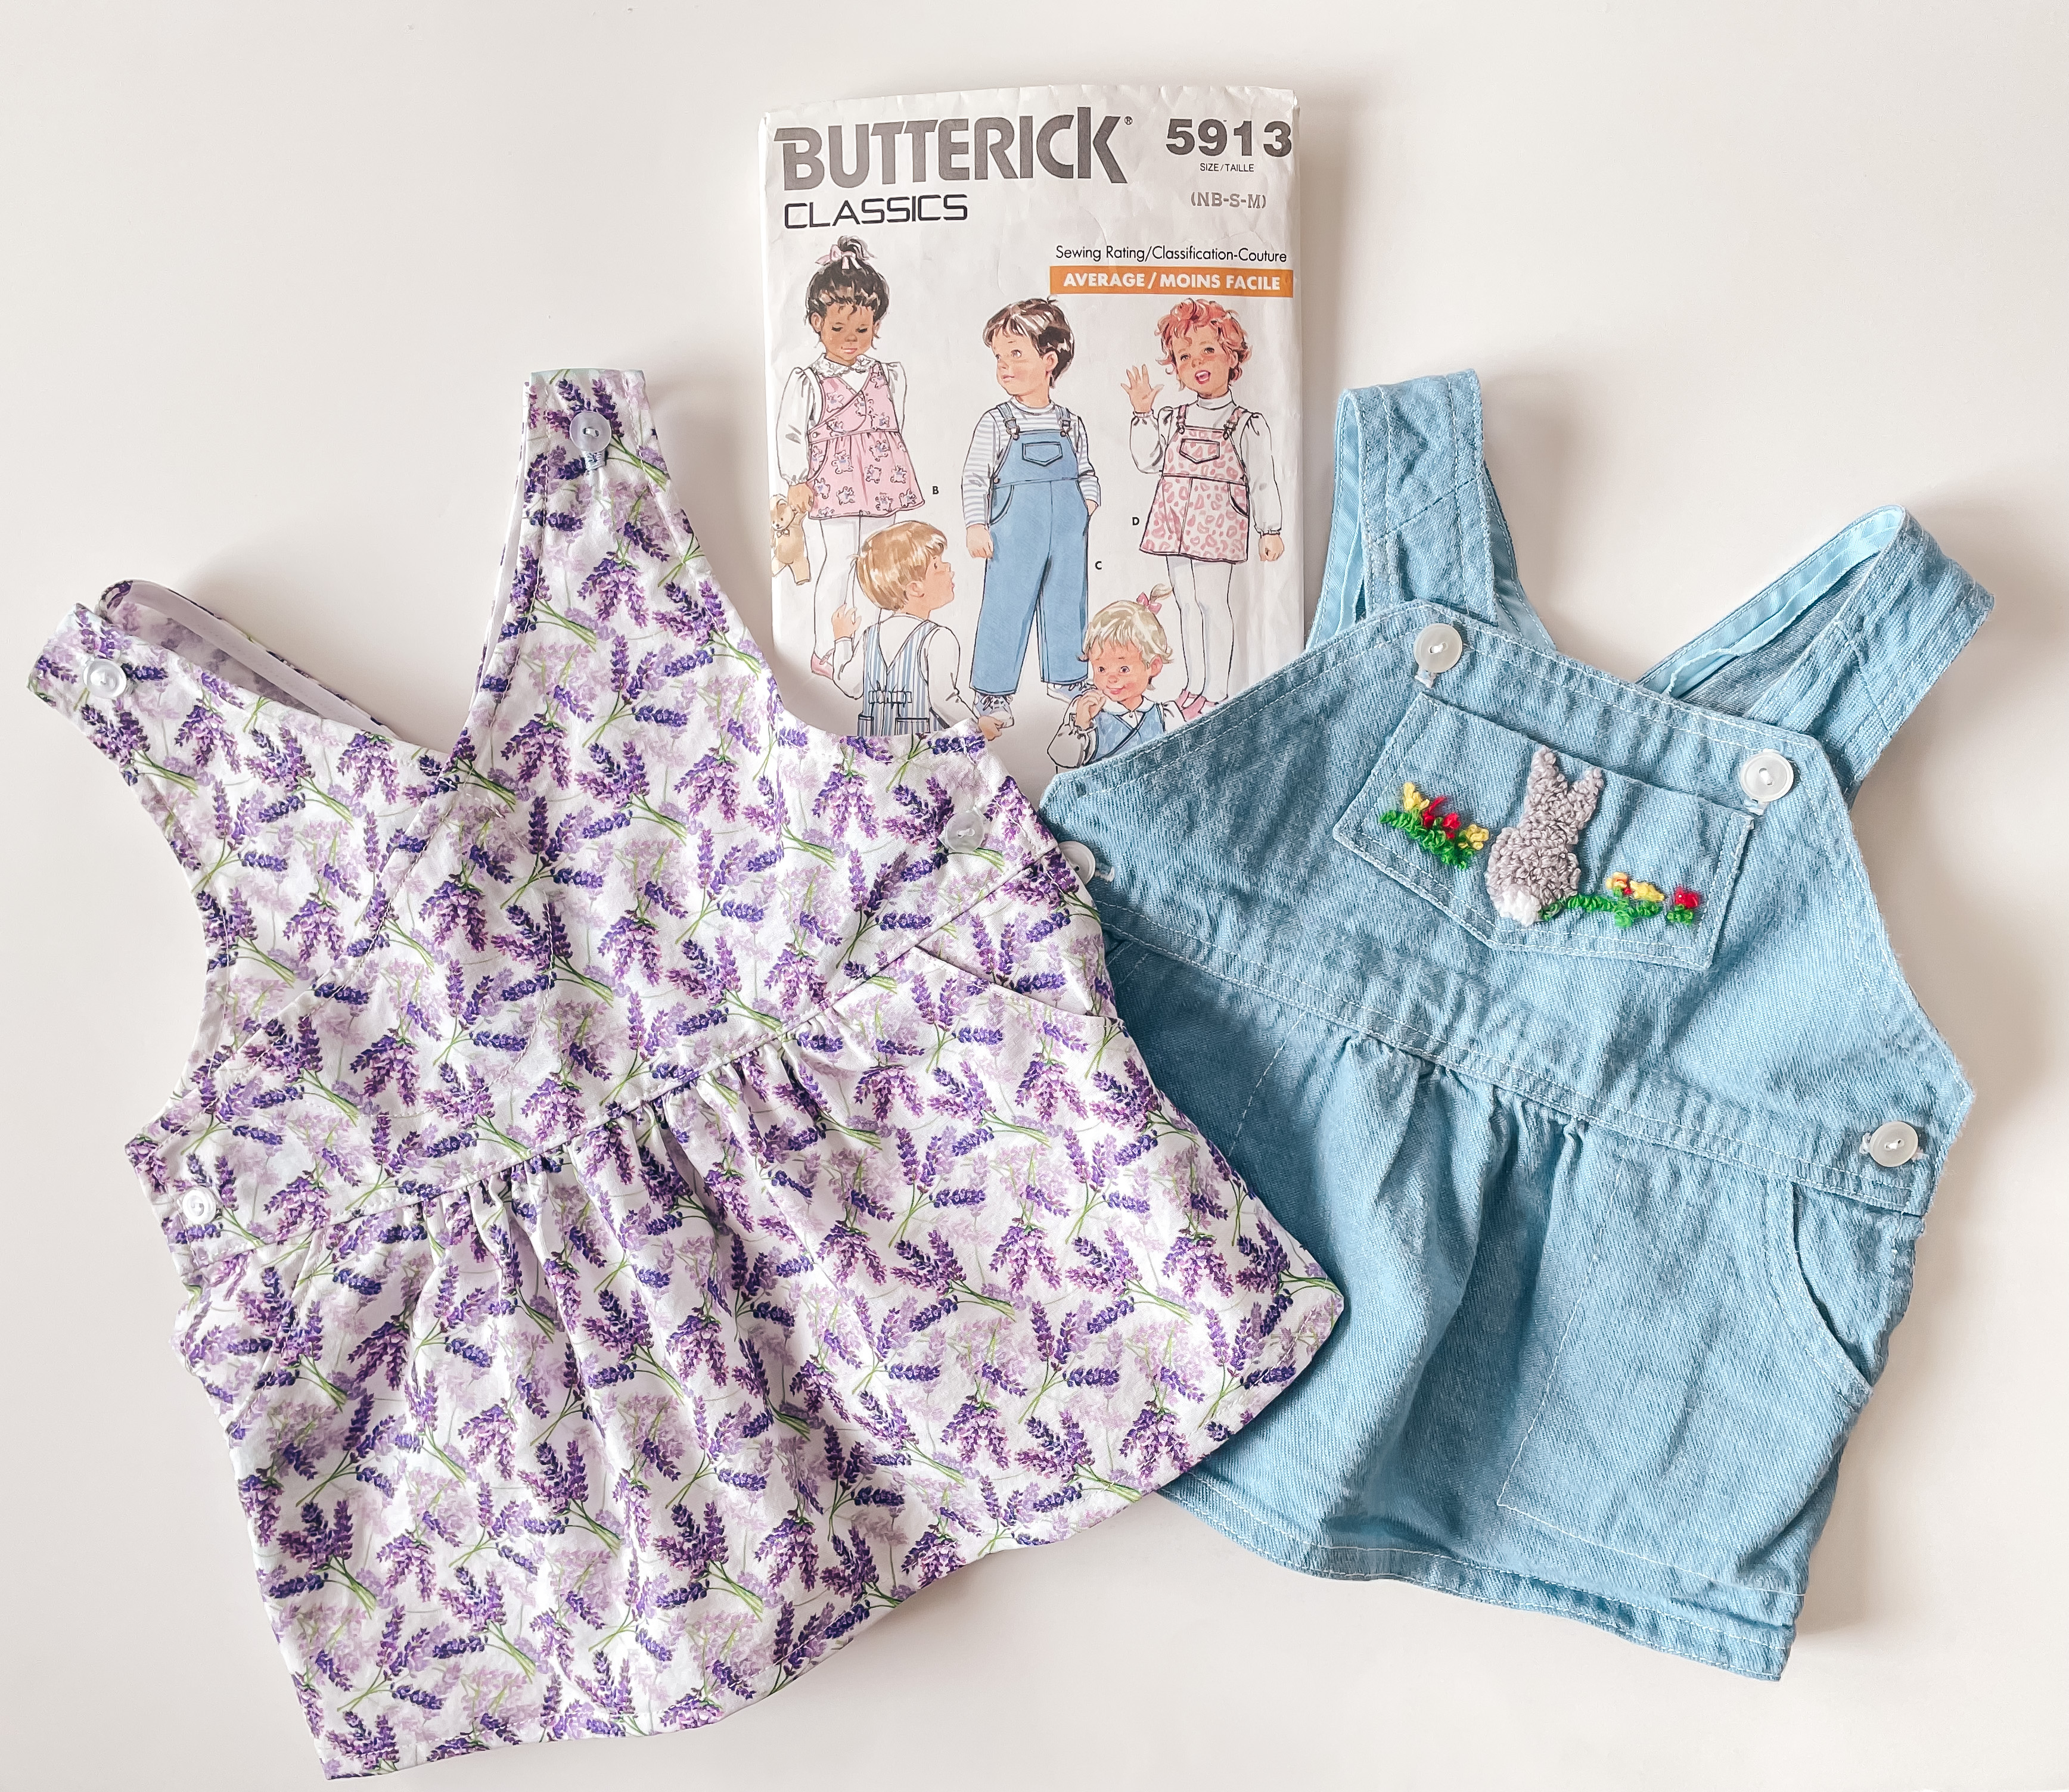
When I saw this beautiful lavender floral fabric I knew I had to make something for my daughter with it.

Lavender is my mother’s favorite flower and it always reminds me of her, so I chose to make a pattern her mother, my maternal grandmother, made for me when I was a baby. This Butterick pattern was printed the year I was born and my grandmother made view D for me. I made view B for my daughter and although they look fairly different from the front I found myself referring to my grandmother’s make a few times to clarify the pattern’s instructions. Grandma has been gone for a number of years now, but I love that, in a way, I was still able to share this make with her.


This fabric was gifted to me in return for a post and this post contains affiliate links. I love baby's new dress and can't wait to get her in it! Thank you for your support.
QuickEdit
Marissa
0 Comments

Willow Wrap Dress - Nursing Top Hack


I have a new hole in my wardrobe and have been energized to create nursing friendly garments post baby. In the short amount of time I've been nursing her I found that I prefer tops and dresses that can be pushed to the side so I can easily see baby's latch. This H&M top was the perfect inspiration for just such a top!


I used the Willow Wrap Dress pattern from Love Notions as the base for this top and added a modesty panel in coordinating fabric using a similar ready-to-wear nursing top I already owned for reference. This pattern has so many options, I started by cutting the plain front panels at the lower neckline and the skirt pieces at the line for a peplum style top.


To better match the inspiration top I narrowed the skirt front piece by an inch on each side at the bottom. I created a modesty panel by folding the front pattern piece in half, placing it on the fold, tracing a curved neckline two inches above the lowest point of the V and cutting it off six and half inches below the armscye. I sewed the modesty panel to the shoulder seams after adding the knit binding to the neckline, but would sew it in before finishing the neckline in the future as this didn't create the cleanest finish.


I loved working with this fabric from June & Lu Fabrics because it was stable enough to hold its shape even after nursing baby a few times. Of course, I had a bit of fabric left over and had to make baby girl a few coordinating onsies and headbands. These are our first mommy and me outfits! I love this top and wear it regularly - it can be dressed up with black slacks or worn more casually with jeans.


Size: Small
Fabric: Organic Water Lilies in Creme Jersey Knit Fabric by Elvelyckan Designs, 1 yard (*this is a directional print so make sure to purchase enough); Organic Rose Solid Jersey Knit Fabric by Elvelyckan Designs, 1/2 yard. Find this fabric and coordinating solids at June & Lu Fabrics.
Time estimate: 5 hours, including cutting and sewing

Cost to Make:
pattern - previously owned, $12 value
pattern printing - previously printed, $17 value
fabric - gifted, $21 value plus shipping
thread - from stash
TOTAL: $50 value

This fabric was gifted to me in return for social media posts. This fabric has great recovery and I love how it washes and wears. I would purchase it in the future!

QuickEdit
Marissa
0 Comments

Nursing Willow Wrap Dress


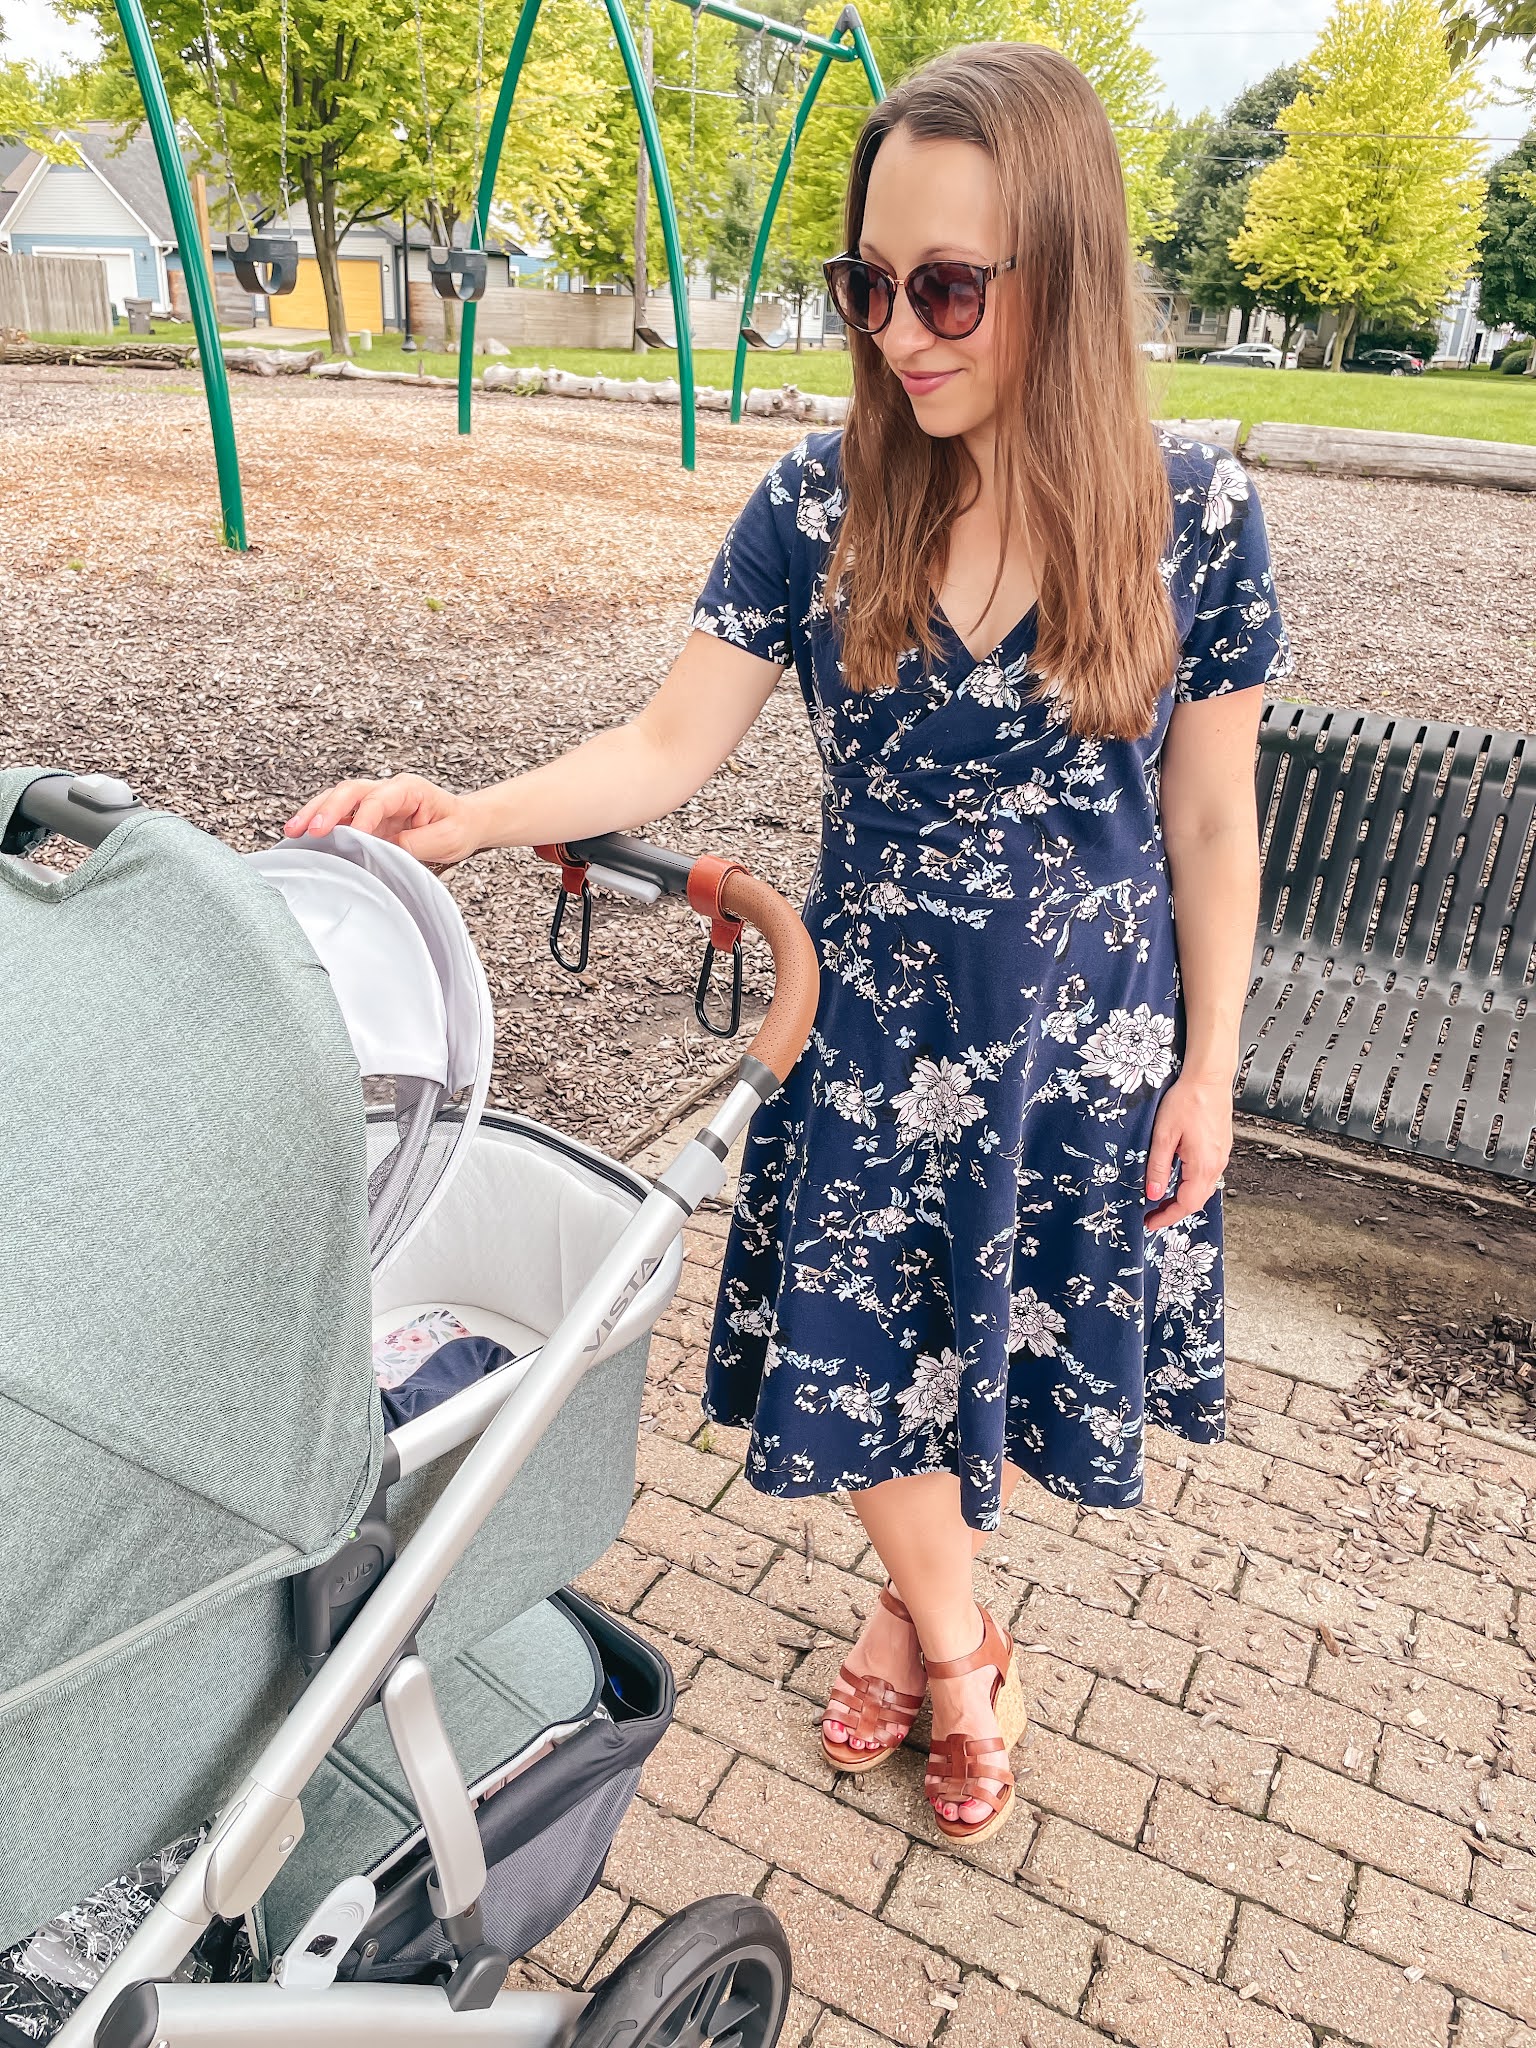
I purchased the Love Notions Willow Wrap dress when it was a featured Friday pattern earlier this spring. I love the wrap style and this pattern comes with both maternity and nursing options - a huge win at this point in my life! Soon after buying this pattern I won a $20 gift card to Style Marker Fabrics through Love Notions and set to picking out a great fabric to make this dress - but I found too many options! After posting a few poles on Instagram you all helped me pick this gorgeous floral with a navy background - a favorite of mine.

I had the pattern printed through PDF Plotting and was working on cutting it out when I went into labor. I cut a size medium, based on my then current measurements, and was able to sew it together during a few extended nap times after baby's arrival. 


As a new mom it felt like a huge feat to spend any amount of dedicated time in my sewing room. I really appreciated that this Love Notions pattern came together so quickly and looks so polished. Most of the pattern is sewn flat and then one long seam up the side brings the whole garment together. Although this form of assembly is very quick, one drawback is the inability to fit the garment until near the end of construction. I used knit stay tape for the hem and, after serging the edges, used a regular straight stitch to complete the dress since I wasn't worried about this hemline needing to stretch. My favorite feature of this pattern is the knit neck binding, a skill that I will use on other knit garments in the future.


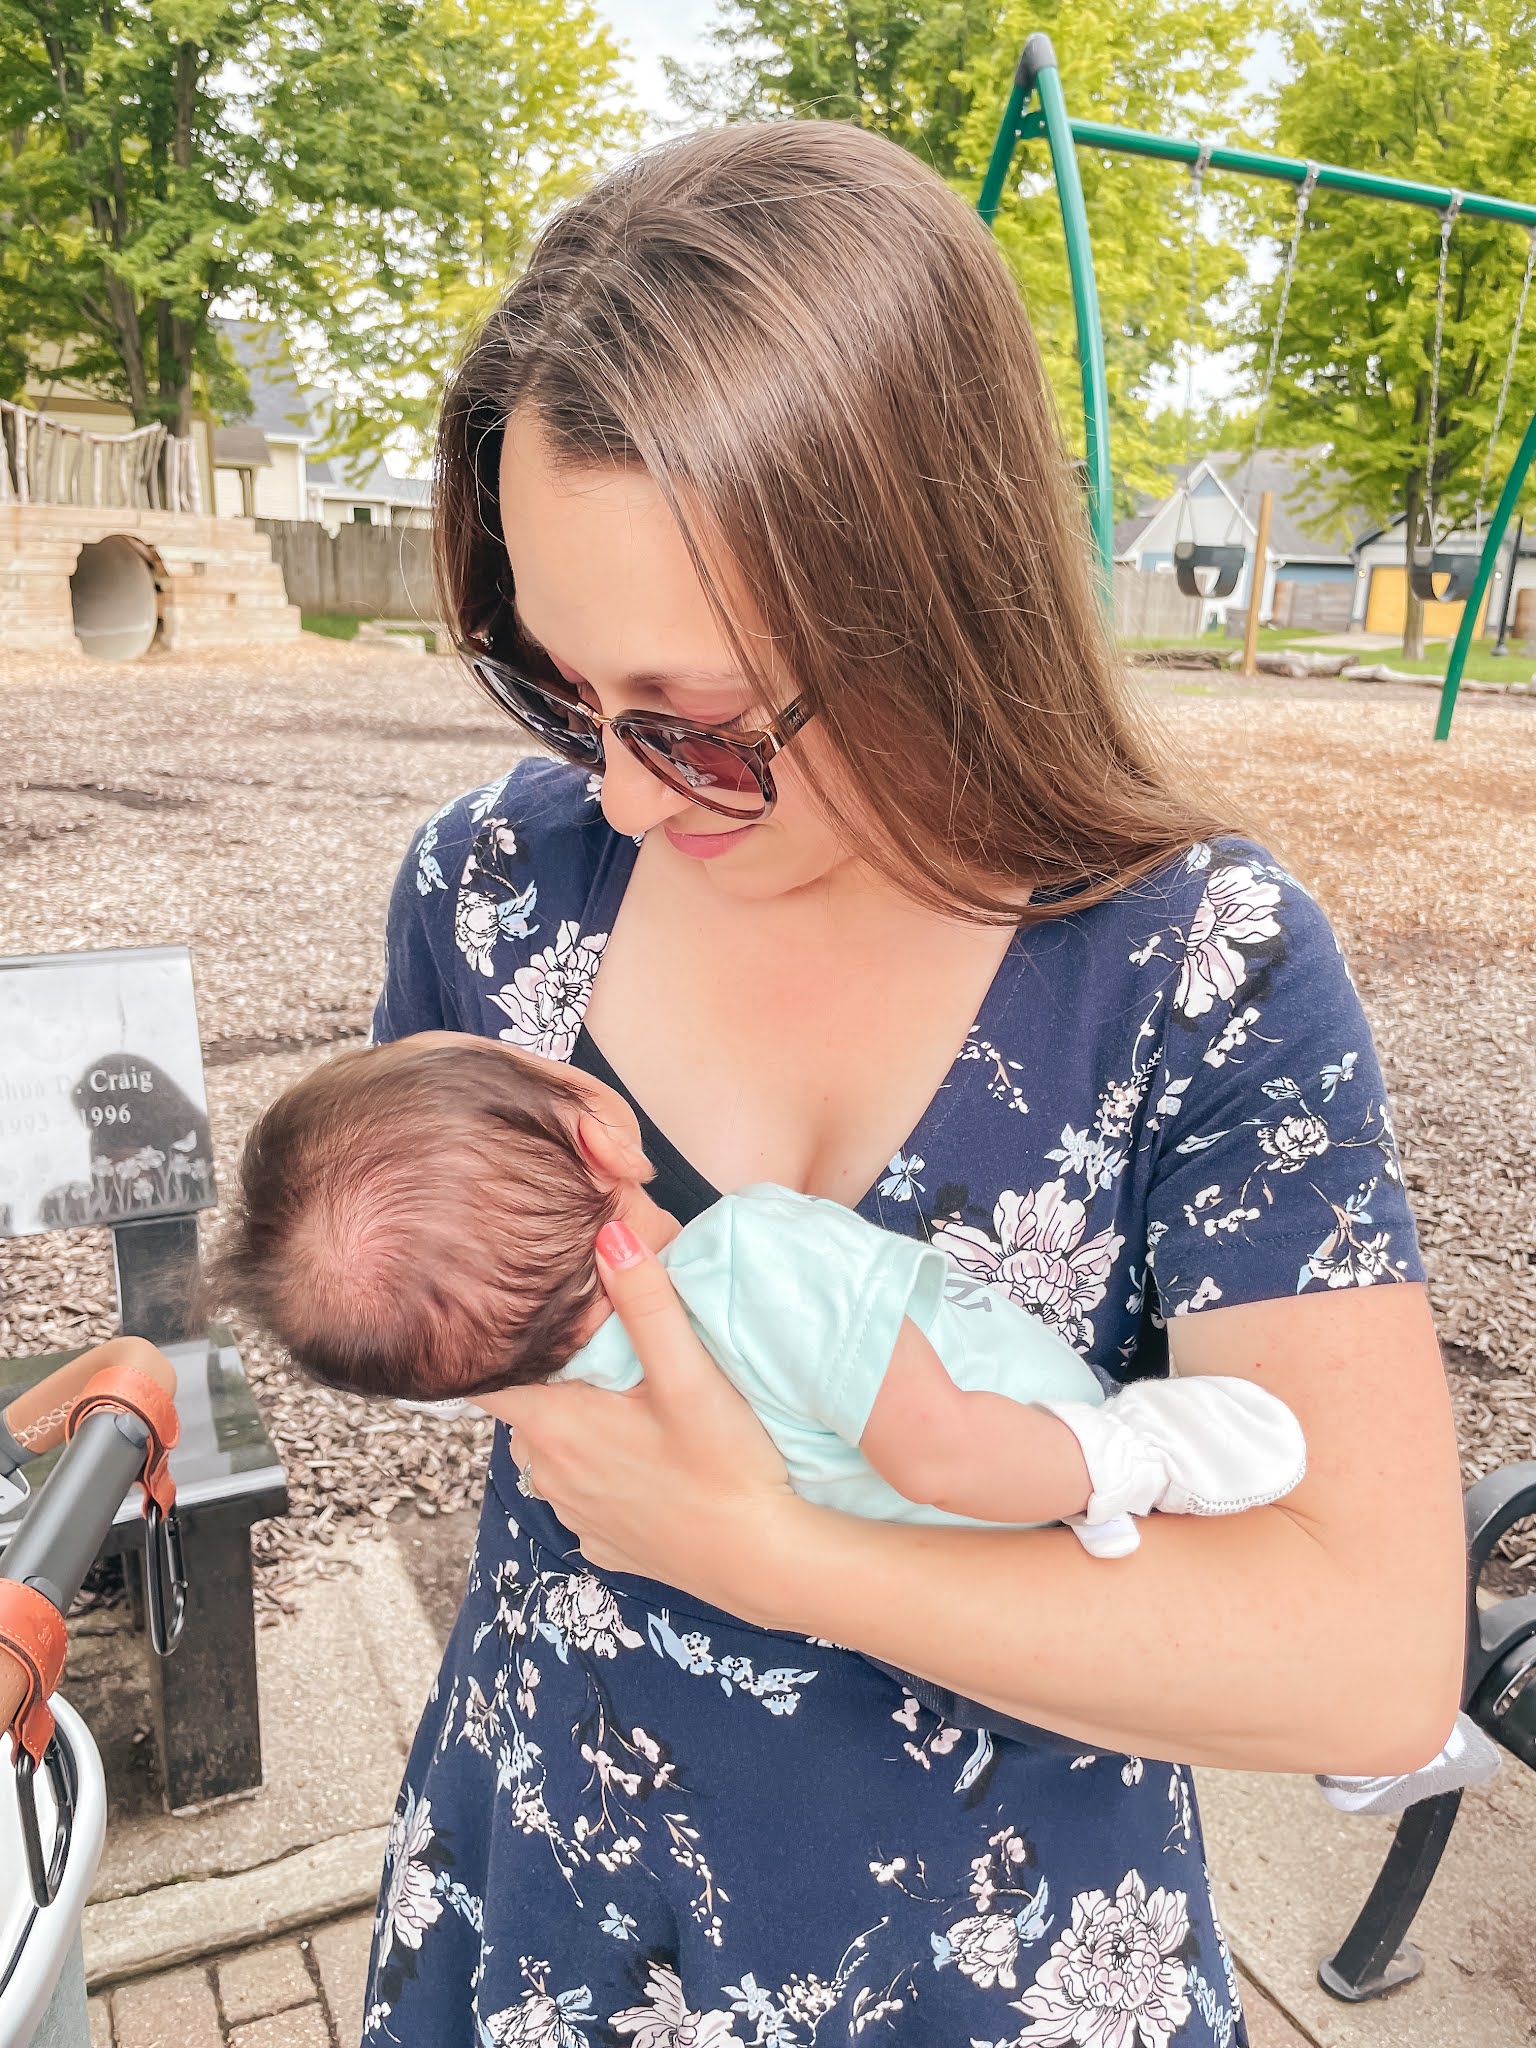
At this stage of motherhood and nursing I'm enjoying wrap style tops and dresses best so I can push the fabric to the side and see baby's latch. I was so glad to have this option for appointments in my early days after her birth. In the future I will size down, try a few different side gather options, shorten the skirt an inch or two, and add pockets in the side seams. I just love this dress - look for more Willow Wraps coming to my wardrobe soon!

Size: Medium (based on then current measurements)
Fabric: Romantic Vine Floral Jersey Knit in navy
Time estimate: 5 hours, including cutting and sewing

Cost to Make:
pattern - $5 ($12 value)
pattern printing - $17
fabric - $27 ($38 value, plus shipping and taxes)
thread - $2 (using Style Maker's thread matching service)
knit stay tape - from stash
TOTAL: $51
QuickEdit
Marissa
0 Comments

Baby's First Momma-Made Outfit


I made my first outfit for baby girl from a gorgeous Art Gallery Fabric, generously gifted to me from Minerva, and I couldn't be happier with it! Aren't those ladybugs the sweetest thing you've ever seen?!

For all the details about these makes head over to my profile on Minerva's site and purchase your own Art Gallery ladybug knit fabric here.

This fabric was gifted to me in return for a blog post and this post contains affiliate links. I truly love how her outfit turned out and can't wait to see her in it! Thank you for your support.

QuickEdit
Marissa
0 Comments

Golfing Polo


During my pregnancy, while my body is constantly changing, I've found it most rewarding to sew for my husband and eagerly anticipated baby. It's especially fun to sew for Paul because I can easily fit items on him throughout the process making the final garment one we're both really happy with.

This spring I made a Pacific Pullover for myself out of pique from Minerva and had a fair amount of fabric leftover. I liked the idea of Paul and I being able to wear coordinating outfits on the golf course, one of our favorite hobbies to do together, so I purchased the digital Jalie 3137 Polo Shirt for Boys and Men and got to work! I wanted to make the polo right away so I printed the pattern on printer paper at home and taped it together, my least favorite but admittedly the quickest way to get a pattern.


I took Paul's measurements and, given how stiff the printer paper was, cut a straight size "X" because it fit his largest measurements. Once cut out I pinned the main garment pieces together and fit the polo to Paul. It was a bit too big on him through the chest and waist so I removed 3/4" out of both side seams at the chest and waist, close to size "U", then graded back to size "X" at the hips. The shoulder seams fell a bit too far down his shoulders so I removed 1/4" at the top of the armscye, at size "W", and graded out to a size "X" before the bottom of the armscye. The last major adjustment Paul requested was to make the sleeves more fitted. I removed 1 1/8" at the top of the sleeve seam and graded to 1" at the bottom of the sleeve seam. Getting the look he wanted while leaving enough ease to play golf in the top was a balancing act since the pique has such little stretch.


This pattern offers a lot of sporty options including a yoke, chest pockets with or without flaps and shoulder tabs. Paul wanted a sleek look and decided to leave the pockets off. The instructions made inserting the button placket a piece of cake and thankfully my button holes turned out perfectly the first time! I only deviated from the sewing instructions to hand sew the collar stand down, which is a personal preference.

I really liked this pattern and would happily buy it again. The ingenious design allows you to use the same body piece for both the front and back, changing only the top portion between the front and back/yoke pieces. The pictures were very helpful, but all at the bottom of the instructions and I found the scrolling a bit irritating.

Paul loves the finished product and would be happy if I made a few more versions for him in a stretch athletic knit.


Pattern: Jalie 3137 Polo Shirt for Boys and Men
Size: X
Time estimate: 8-10 hours

Cost to Make:
pattern - $9.00
fabric, thread, and button - from stash
TOTAL: $9.00
QuickEdit
Marissa
0 Comments

Cara Maternity Dress


Today's post is a guest blog written by my mother, who graciously made a few maternity garments for me early in my pregnancy when I didn't have the energy to sew.

When our daughter announced that we would become grandparents for the first time my heart leapt for joy. I was ready to make A.L.L. the things for the baby, but decided I should consult the parents before I went wild.  Marissa suggested a few clothing items to round out her maternity wardrobe would be especially helpful. She selected the Megan Nielsen pattern Cara and ordered fabric from So Sew English. I was delighted when I received that package. The fabric was a rich red Modal with a wonderful drape. I printed out the pattern and got right to work. It is a bit tricky trying to sew for someone so many miles away but I relied on fitting the pattern to myself and sending selfies, and video chats with Marissa for "sewing consultations". 

To extend the top pattern to dress length I compared it to a ready-to-wear dress in a length I liked. The shirt pattern had already made adjustments for a pregnant tummy and hips so I simply extended the length, with a slight flare to allow for walking.

Isn't it great that we are so close in height too? I scoured the comments on the Megan Nielsen blog and gleaned lots of tips and suggestions that I found helpful. I noticed how often women suggested that adding elastic to the ruching was critical, and created a nicer end product. I think this suggestion was essential to creating the nicest finished product when using such a drapey fabric. 

In the end I adjusted the sleeve width, bringing it in a full inch. I  also made a few adjustments to the shoulder area, bringing it in one inch to bring the shoulder cap up and taking 1/2" off the top of each shoulder seam, lifting the entire garment up and shortening the neckline and armscye. I finished the dress with a twin double needle hem. I always use wash away stay tape on knits hems and found that step especially important with this lightweight fabric.

Actual sewing time was probably about an hour, but I spent a couple more hours preparing the fabric, adjusting the sizing, "tissue fitting" and video chatting. I wanted  this to be the perfect feel good to wear maternity wardrobe staple. As soon as I completed my sewing I boxed it up, sealed it with a kiss and ran to the post office. I was so happy to see Marissa wearing the dress in a recent photo.


Pattern: Megan Nielsen Cara top
Size: small
Fabric used: So Sew English modal, red
Time estimate: 3+ hours, including fitting and sewing

Cost to Make:
pattern - $14
fabric - $21.50
elastic - from stash
thread - from stash
TOTAL: $35.50

QuickEdit
Marissa
1 Comments

Yorkshire Pullover


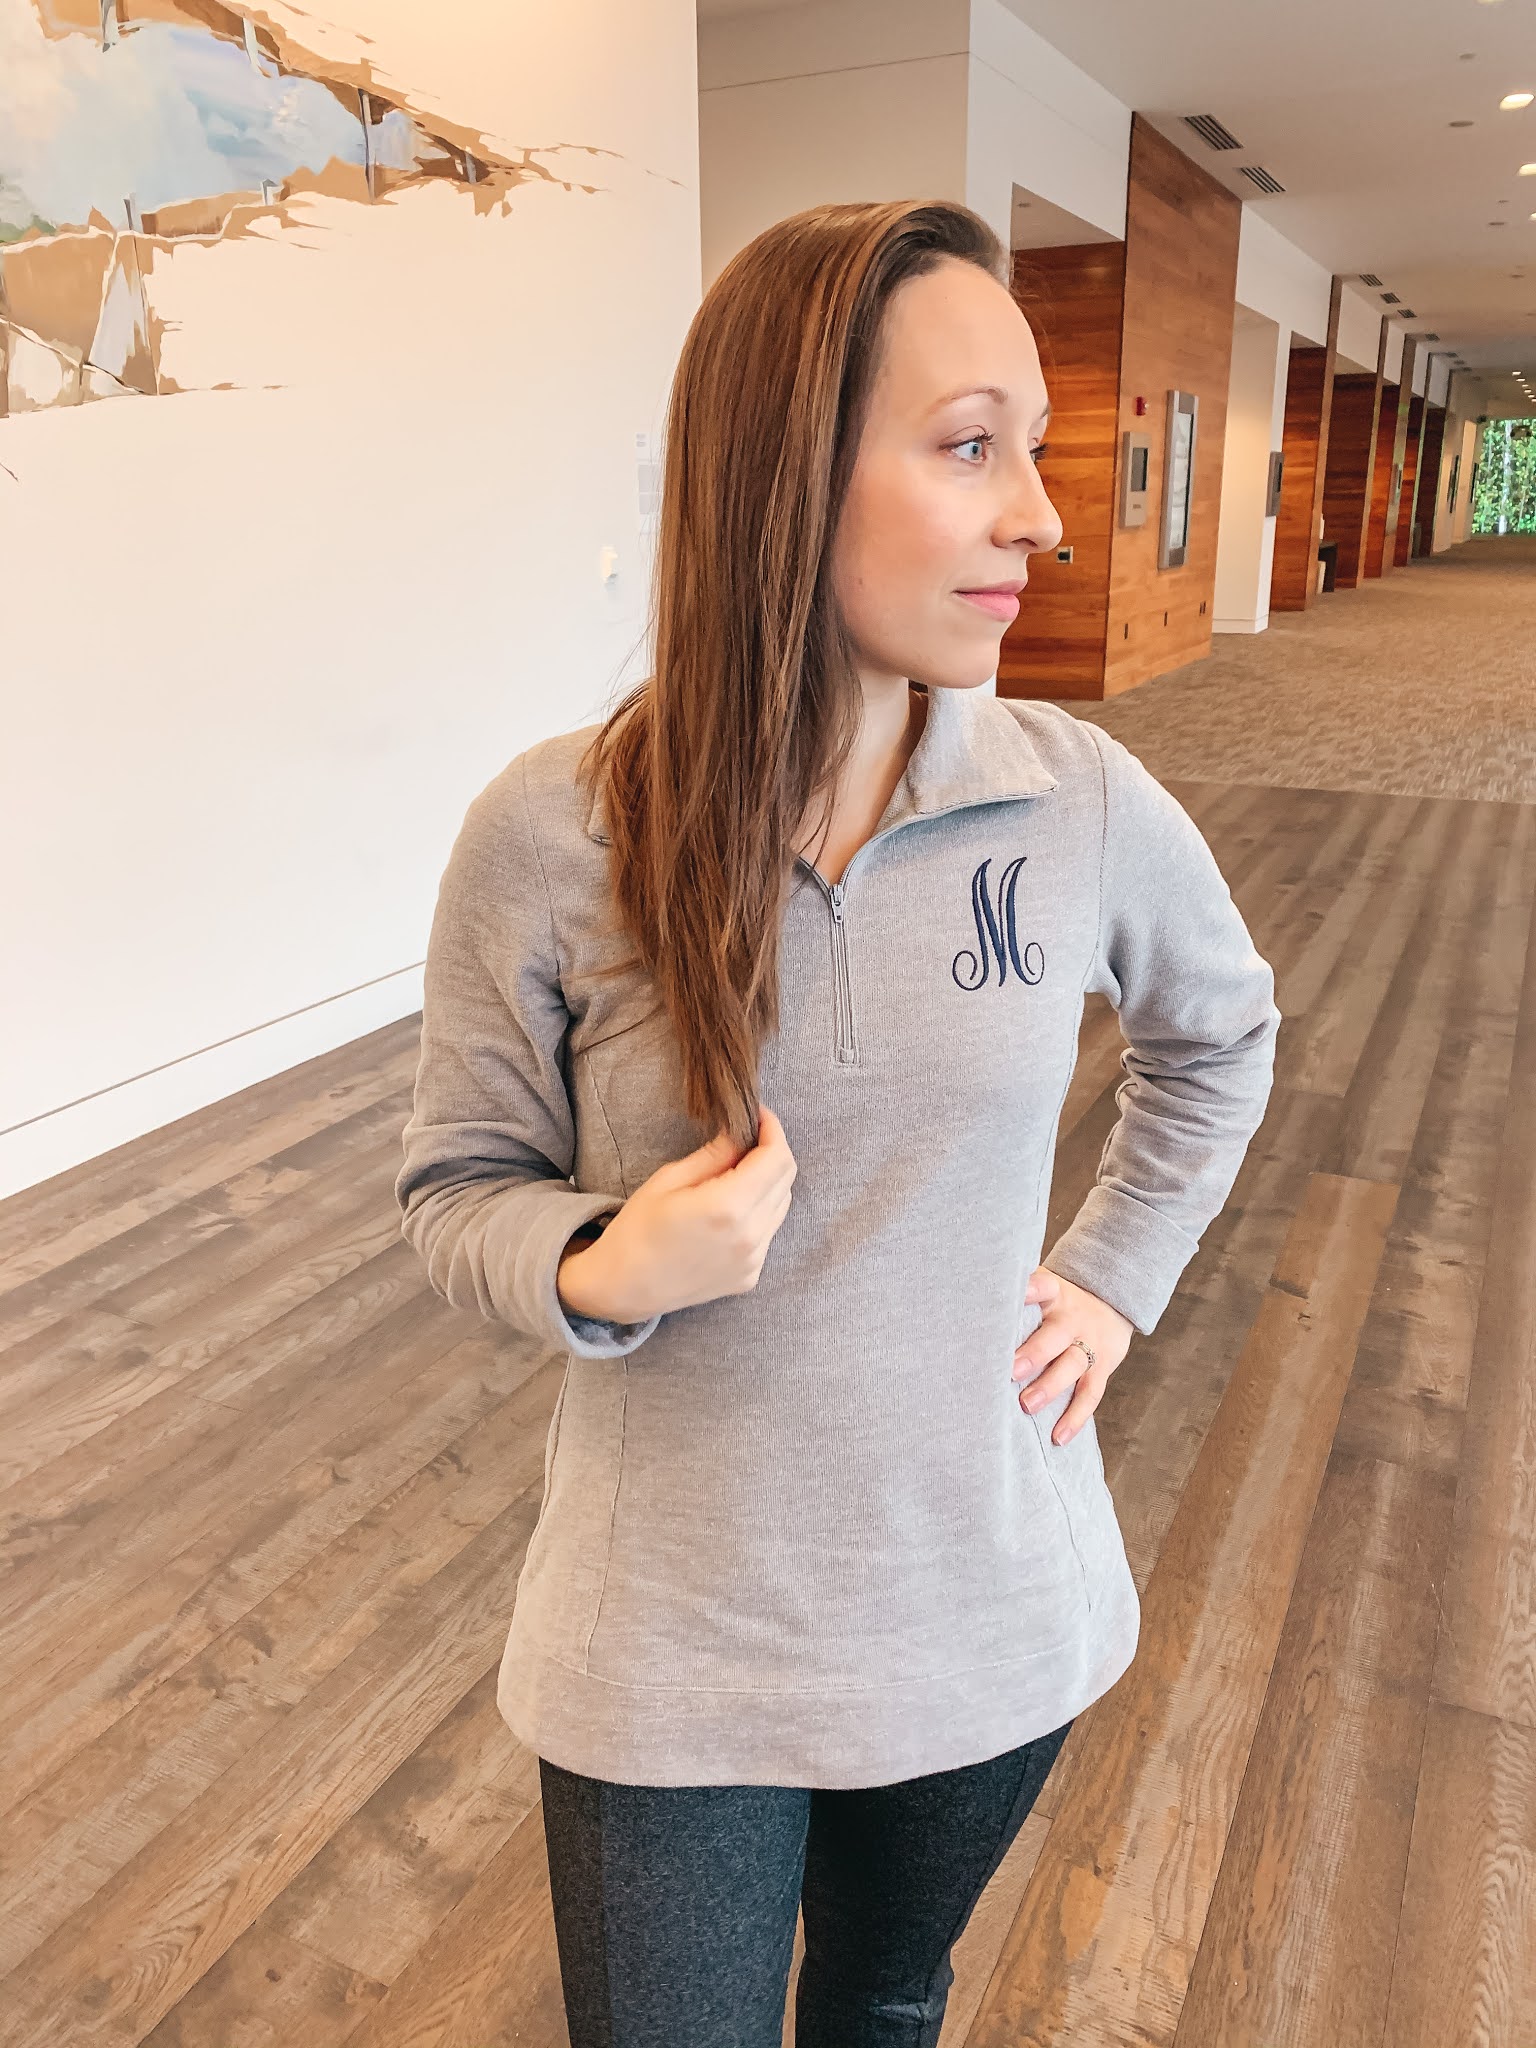
I love how Paul's Yorkshire Pullover turned out. It is comfortable for him to wear, snuggly warm on the inside, and looks polished all at the same time. And this pattern comes with a cardigan option as well so I can certainly see myself making another version in the future. You can read all about this make on my profile at the new Minerva website and purchase your own fleece backed sweatshirt knit in a variety of colors here.

This fabric was gifted to me in return for a blog post and this post contains affiliate links. Paul loves his Yorkshire Pullover and I would definitely make it again! Thank you for your support.

QuickEdit
Marissa
0 Comments

Pique Pacific Pullover


Before making this version of the Pacific Pullover I hadn't worked with pique. Pique, I learned, is a knit that is typically used to make polo shirts. Although for a knit, it has hardly any stretch and I needed to make a few adjustments to the pattern for this garment to work. You can read all about it here on the new Minerva site! And to purchase your own pique you can use my affiliate link here.

This fabric was gifted to me in return for a blog post and this post contains affiliate links. But rest assured I would definitely make this version of the Pacific Pullover again! Thank you for your support.

QuickEdit
Marissa
0 Comments
[name=Marissa] [img=https://blogger.googleusercontent.com/img/b/R29vZ2xl/AVvXsEgft-3vDDqLpq4lxEo2Wx4YkE4-TQNU7SAldhEeqsnJ5NGKN48OSU2c-E6TmDZGf5IPiR6oTsNR332bRJ3dZZcIO7bkMkNpuXcp1K9AtFQ5rlu0kfvBzzjk-gyIKt6lGyYAM1HQ5b-z1Xg/s355/NielsenFamily19Final-11+%25282%2529.jpg] [description=Hi, I'm Marissa, a hobby seamstress. Thanks for joining me on my journey as I create a handmade wardrobe. Like and follow via the social media links below to see my newest makes!] [(instagram=https://www.instagram.com/sew_help_me)] [(facebook=https://www.facebook.com/SewHelpMebyMarissa)] [(bloglovin=https://www.bloglovin.com/blogs/sew-help-me-19274771)]