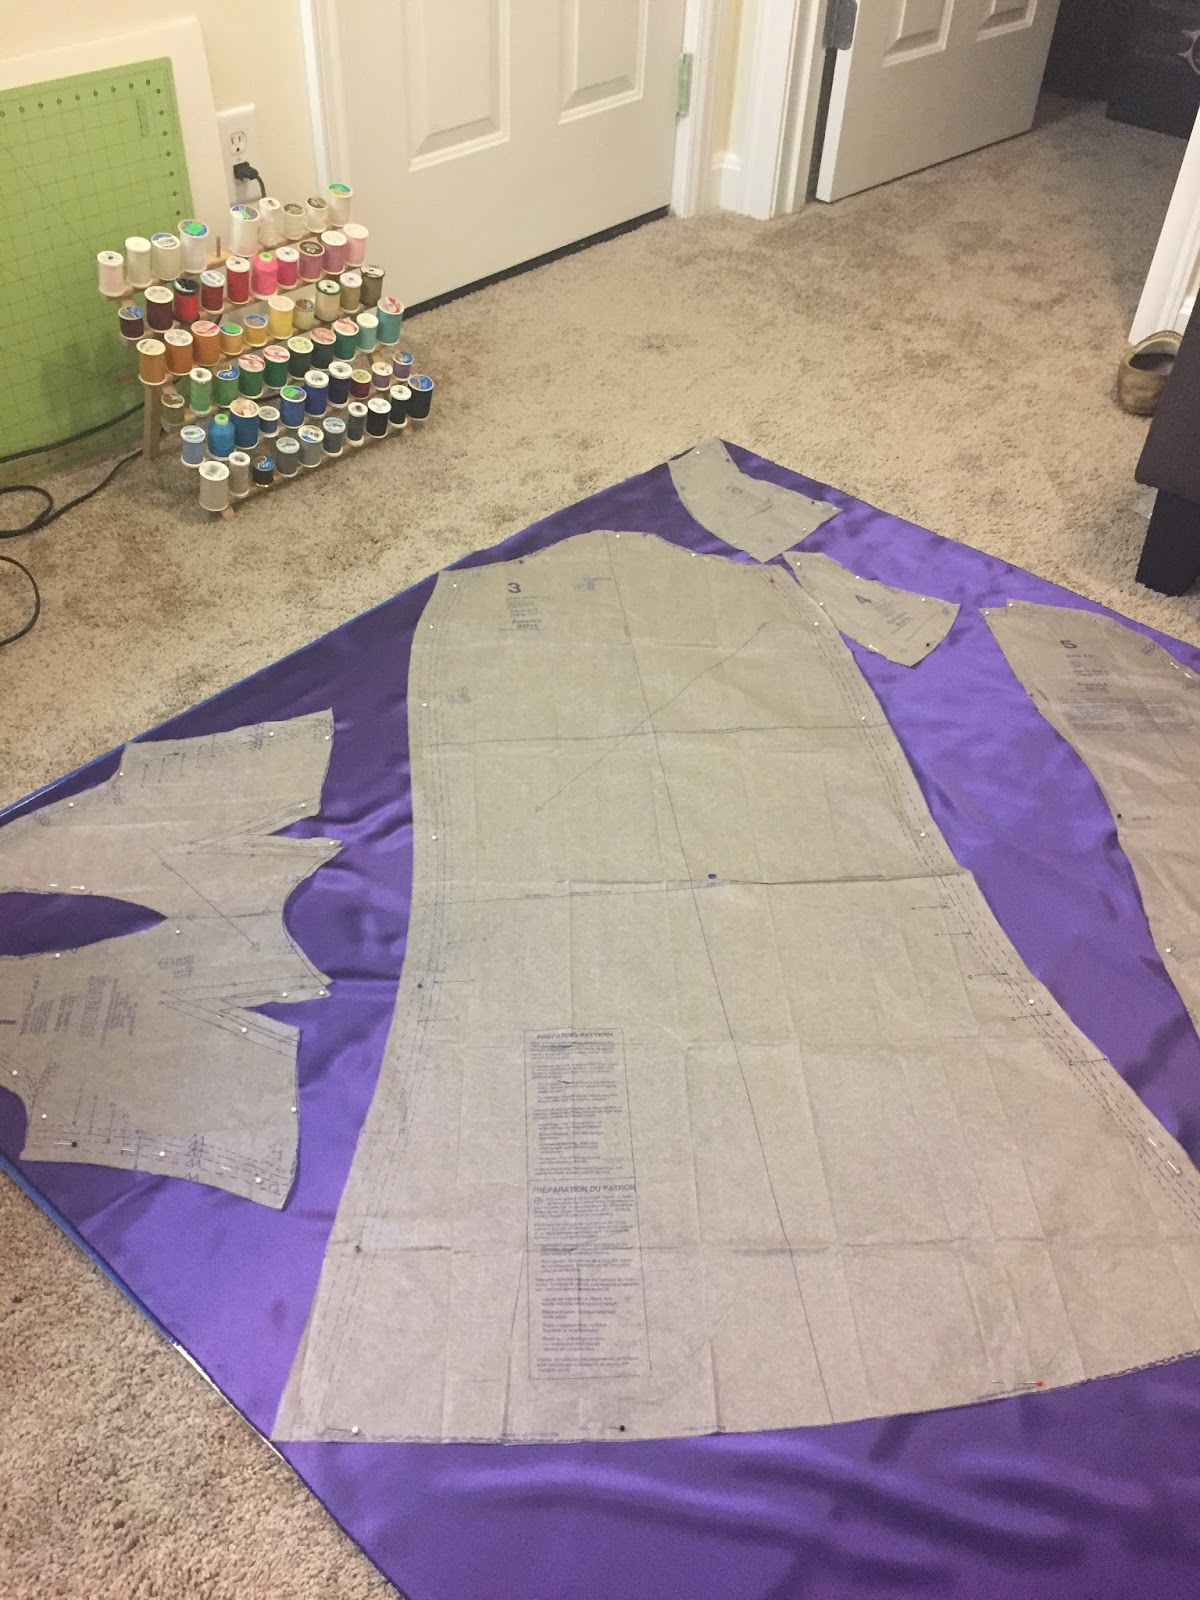
Mid-last week I was offered tickets to a red carpet viewing of the Oscars. It was late notice, but I was so excited for a formal occasion that I went straight to JoAnn Fabrics after work and bought a pattern, material, thread, and a zipper. I finally had the opportunity to make The Pippa Dress!
This was my first dress cut on the bias and my first time making raglan sleeves, which means it had the potential to be very time consuming. Again, I did not have much time, so I decided not to line the dress, only purchasing enough material for the outer dress. Or so I thought...
When I got home I cut out the pattern, laid it on the material, and quickly realized that I was a yard or two short. In my haste to start this project I misread the pattern envelope! I decided to cut out the pieces I could and make as much progress as possible before heading back to JoAnn's the next day.
The cowl neckline came together quickly and easily and looked amazing. After not having enough material this was the little pick-me-up I needed to keep working. The next step was attaching the skirt front to the bodice, which took a bit of effort to get the easing correct.
It took me a while to figure out how to finish the neckline since I wasn't going to line the dress. In the end I made my own facings with extra material and was happy with how well it worked. I also had to decide how to finished the sleeves since they weren't lined either and decided on a simple topstitch for speed and efficiency.
I wanted to make the dress floor length, but thought it would be best not to add the train given the type of event I was going to. The pattern piece for the train was a separate piece so in theory this would be easy enough to complete. After holding the sold back paper pattern piece up to my back I decided to add an inch to the length just to be safe. However, even with the extra inch, the back of the dress wasn't long enough to finish at floor length, so I ended up cutting out the train separately and attaching it after the fact. This wasn't ideal, especially because after purchasing additional fabric I would have had enough to cut out sold back pieces, but I was happy with the finished product.
Time estimate: 16-20 hours
Size: 12
Material used: crepe back satin, 100% polyester
Care instructions: machine wash cold, line dry, warm iron when needed
Cost to make dress:
pattern - $2
material - $30
zipper - $2
thread - $2
*hook and eye from my stash
TOTAL: $36 plus tax


You keep rocking them curves, girl! I'd keep the sweep train as a separate piece, even if you could have cut it in one piece. The seam line echoes the waistline- flattering and desirable visual interest. I like the way the light plays on the different directions of fabric grain in the side view. :)
ReplyDeleteThanks so much Aunt Joy! I really love how it turned out, and hadn't noticed the similar shape of the bodice/waist and back/train seams before. :)
Delete