Royal Wedding Sew Along - Runner Up

Royal Wedding Sew Along - Runner Up


I am so honored to be selected as the best New Look make for the recent Royal Wedding Sew Along co-hosted by McCalls and Simplicity. I'd like to send a super special thank you to my blog leader Lindsey from Inside the Hem who made such helpful instructional vlogs. As I said in my last post, this was my first sew along and I loved doing it with the rest of the community!

As one of the runners up I was awarded the opportunity to select five patterns of my choice. I had such a hard time selecting my five patterns that after the first pass through most of the catalogs I had flagged 49 different patterns! I asked my mom, sister, and husband to weigh in on their favorites and also referenced my favorite makes on Instagram to see how some of my favorite patterns looked on "real people" and finally selected these patterns. I'm so excited to get my hands on them and I'm sure you'll be seeing some of these up on the blog soon! What are your top five favorite current patterns?


Read more »
Marissa
0 Comments
Royal Wedding Sew Along

Royal Wedding Sew Along


I had such a wonderful time participating in the royal wedding sew along! I'm so grateful to my blog leader Lindsey from Inside the Hem for her weekly instructional vlogs. I learned so much from her!

I made New Look 6526 in view C and adjusted the sleeves to three quarter length. I accessorized with a Vogue fascinator, made with pattern V8868 in view E and a hand stitched pocket square for him. I used a medium weight matte satin in teal and love this finished spring look.

One of the things I tried for the first time during this sew along was making a muslin. Growing up my mother and I would often use a modification of the tissue fitting method, using only the tissue pattern molded against our bodies to determine what adjustments needed to be made. Now that I've moved away and don't live near her I've had a much more difficult time determining fit and making a muslin was just what the doctor ordered. Plus, making a muslin allowed me to try difficult instructions, a few times if needed, and not over work my fashion fabric!


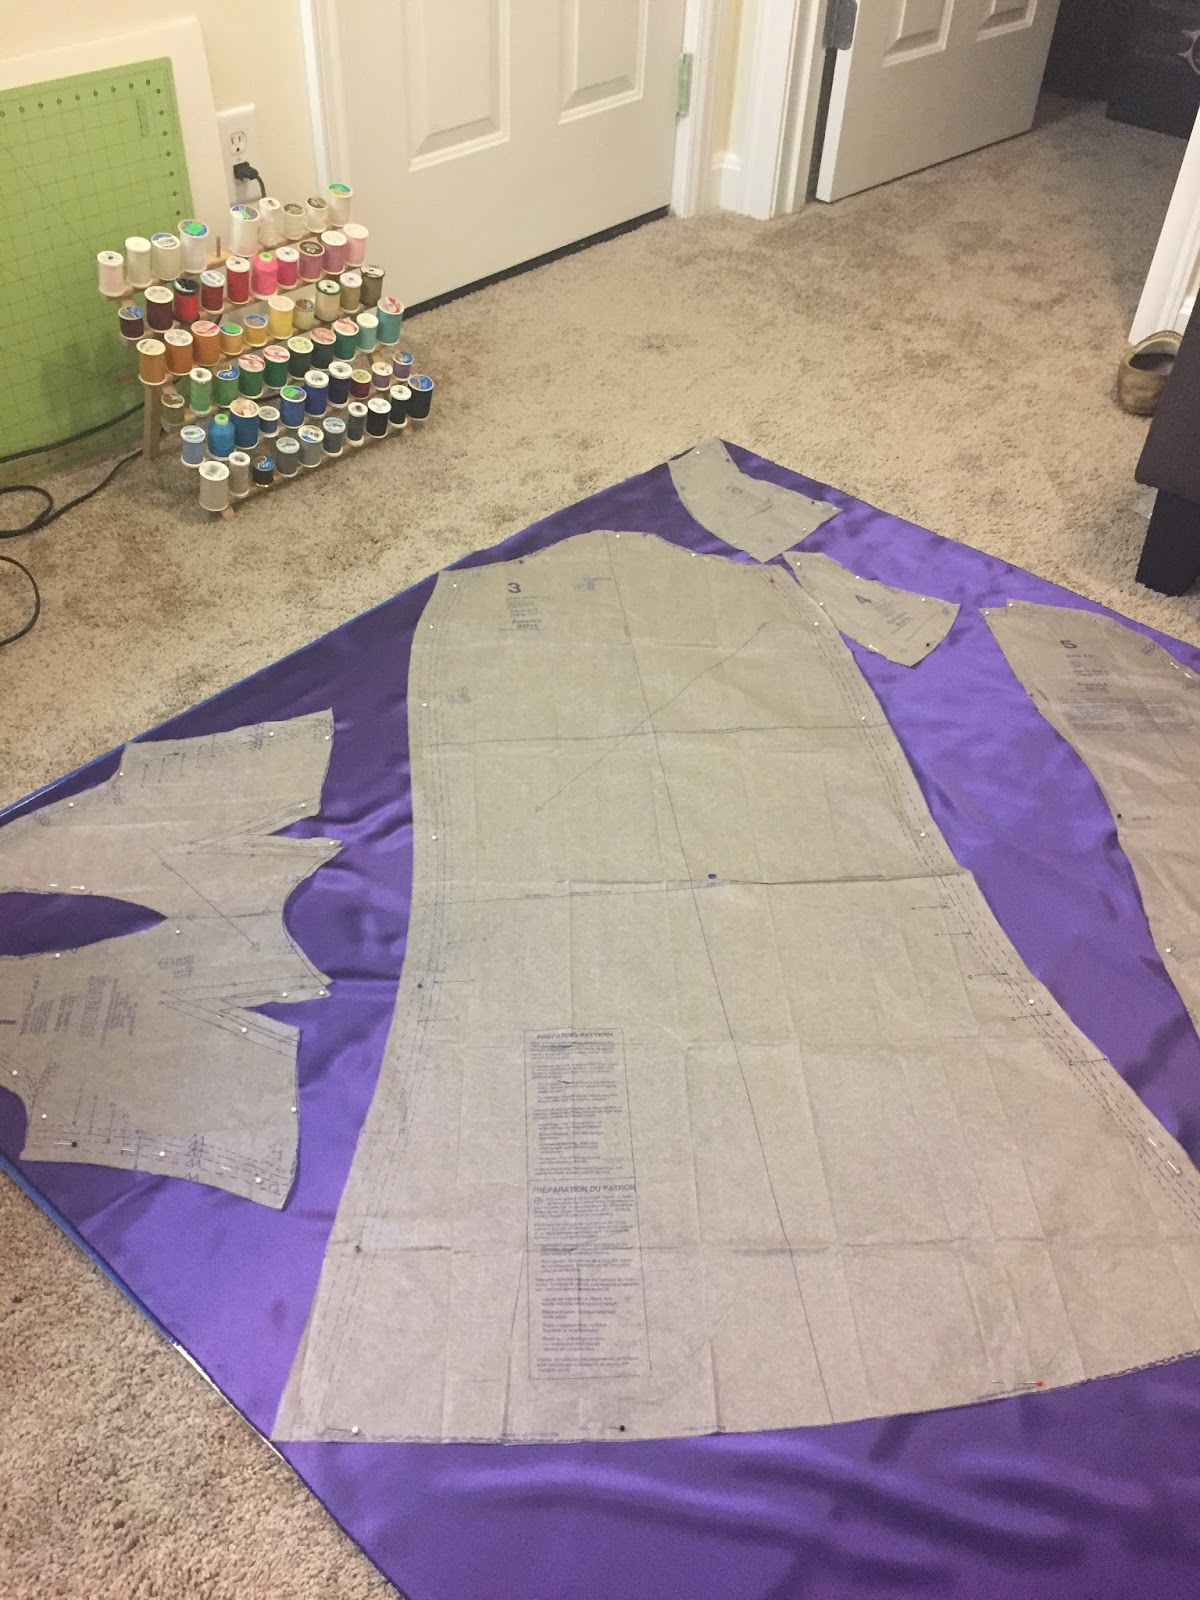
I only made a muslin of the bodice and sleeves since the skirt of my pattern was wide enough I wasn't worried about fit. I cut out a size 12 based on the sizing chart on the back of the pattern and as you can see it was dramatically too large on me. I had been working ahead of Lindsey's videos and found myself pinning large amounts of fabric out of my muslin.

I put the project away for a while and I'm glad I did, because once Lindsey's videos caught up to me I learned about the finished garment measurements chart on the back of the pattern envelope. What an eye opener; I needed to be making a size eight! I sized down to an eight in both the dress and skirt, although I kept the arms a bit wider at a graded size 10. I will certainly be watching Lindsey's sizing video on repeat for future projects as well.


I had a lot of fun sourcing materials for this project. Most of the fabric and all of the other materials for this dress and fascinator were purchased from JoAnn. Its so helpful to be able to run out and purchase more, coordinating materials whenever I need them. But I also love wearing unique fabric with a story. I found the lining material at New Rainbow Fabrics during a weekend trip to Chicago and love remembering the trip each time I wear my new dress.


One of the techniques I wasn't very familiar with, but elevated the final look and execution of this garment was understitching the lining fabric. This is certainly a technique I will be using again in the near future!

A tried and true technique I used was hand basting difficult seams such as the armscye and center back. This technique always comes in helpful in difficult situations and is one I'll use again soon.

Working with satin also challenged me to learn more about the best needles to use. I had researched and was careful to use the correct needle on my sewing machine, but also learned the importance on using the correct hand needles and pins so as not to pull my fabric.


I chose this pattern because the faux wrap style bodice and full skirt are so flattering on my figure. One of the things I really liked about this pattern was the clever way the front pleats hide seams, making the three separate front skirt pieces look like one. But, my favorite part about this pattern is probably the pockets. That's right, this dress has pockets!

The dress turned out a bit short, but my only negative critique of this pattern is my limited range of arm motion. Given the fabric and lowered size combination I wasn't able to reach much above shoulder length. When I make this pattern again I will try the sleeveless version and see if that is a better fit for me.

I took the time to hand hem the sleeves and used an invisible stitch on my machine to finish the skirt hem. These finishes allowed for a more formal completed look, which was perfect for the gala I wore it to.


I used the satin remnants from making my dress and some tool from my stash to create the fascinator below, completing my royal wedding look. This was the first fascinator I made and I love the finished product. I will certainly be making a few others from this Vogue pattern when I can pull them off! My only negative critique of this fascinator is that I had to cut down the stabilizer to fit it inside the satin cover and the bottom fabric and hair clips pull away from the inner base. When I make this pattern again I will use a slightly smaller base and try to glue the bottom fabric to the stabilizer.

I also used a small square remnant to make a hand stitched pocket square for my husband. No matter my project I almost always have enough fabric left over to make a matching pocket square for him and he is always a good sport about wearing them. Not to mention the endless pictures he takes of my finished garments. Husband shout out!


In typical Marissa fashion I put the finishing touches on this project just before the gala I planned to wear it to. Thankfully the weather was beautiful and I was able to get a number of beautiful pictures!

Thank you McCall Pattern Company and Simplicity Creative Group for organizing such a fun sew along. I learned a ton and loved meeting others in the sewing community through this project.


Time estimate: 20+ hours
Size: 8
Material used: matte satin, 100% polyester
Care instructions: machine wash gentle cold, non chlorine bleach, line dry, cool iron

Cost to make dress:
pattern - $4.00
muslin - $10.50
fashion fabric - $20.50
lining - $2.00
zipper - $4.00
thread - $3.50
DRESS TOTAL: $44.50 plus tax

Cost to make fascinator:
pattern - $5.00
stabilizer - $4.00
hair clips - $1.5
*fashion fabric, thread, and hot glue from my stash
FASCINATOR TOTAL: $10.50 plus tax

Pocket square made from extra fabric and thread, no additional cost
Read more »
Marissa
4 Comments
Spring Dirndl Skirt

Spring Dirndl Skirt


It finally feels like spring in Indy and was warm enough for me to wear me new dirndl skirt this week. I love how it turned out and got a number of complements on it, but wow was it a journey to get to the finished product!

You may remember I had this Simplicity circle skirt on my 2018 make nine list. I love this pattern, but remembered I already owned the dirndl skirt pattern below, so while I was at JoAnn looking at remnant fabric I referenced the Simplicity pattern and came home with a gorgeous light weight chambray, an invisible zipper, and some light weight interfacing.


Once I got home I traced the original pattern pieces, in my size, onto the interfacing and cut out the pieces. This was the first time I transferred a pattern from the original and although I didn't care much for the extra step it was really nice to be working with a pattern that was cut in my size (I rarely cut my tissue patterns down to my size) and the interfacing allowed for a more realistic fitting.


After I got the pattern pieces all cut out and partially assembled I realized that the pattern I read at the store was for a woven, but the pattern I had at home was for a knit! I mean, the brand is Stretch & Sew for heaven's sake! The instructions I was working from called for an elastic waistband and I had a zipper in-hand. Thankfully I was familiar enough with invisible zippers that I was able to insert a side zip with only a little extra effort.


I am really happy with the final product, although I'm not sold on the midi length and will absolutely use a knit with this pattern next time! The chambray I used is adorable, but wrinkles easily was difficult to pattern match. Now I need a drink!


Time estimate: 2-4 hours
Size: 36
Material used: chambray, 100% modal rayon
Care instructions: hand wash cold, no bleach, line dry, cool iron inside

Cost to make skirt:
pattern - thrifted, approximately $1.00
fabric - remnant, $5.00
zipper - BOGO sale, free
*thread, hook and eye from my stash
TOTAL: $6.00 plus tax
Read more »
Marissa
0 Comments
Floral Avery Leggings

Floral Avery Leggings


I can't count the number of RTW leggings I've been through trying to find the perfect pair. They're usually too shear and almost always walk down my legs. It was time to try making a pair of leggings so I was thrilled when Helen's Closet had a sale on the Avery Leggings PDF Pattern last month and I bought the .pdf pattern right away. Plus how cute is this floral knit print from JoAnn?! I just had to have it after I saw it.


I made View A with a low rise waist, ankle length in a size small and still hemmed the length a bit extra. This pattern was quick and easy to assemble and the leggings were a breeze to whip up. However, when I make them again next time I will size up. This pair turned out a bit too tight throughout my thighs and waist and I ended up not even needing the elastic in the waistband. I have always envied my girlfriends' vibrant printed leggings and finally have a super soft pair for myself. And they're so comfy to travel in. I can't wait to make another pair!


Time estimate: 2-4 hours
Size: small
Material used: knit print, 97% rayon and 3% spandex
Care instructions: machine wash cold, gentle cycle, line dry, cool iron as needed

Cost to make leggings:
pattern - $12.00
fabric - $15.75
*thread from my stash
TOTAL: $27.75 plus tax
Read more »
Marissa
0 Comments
The Pippa Dress

The Pippa Dress


Mid-last week I was offered tickets to a red carpet viewing of the Oscars. It was late notice, but I was so excited for a formal occasion that I went straight to JoAnn Fabrics after work and bought a pattern, material, thread, and a zipper. I finally had the opportunity to make The Pippa Dress!


This was my first dress cut on the bias and my first time making raglan sleeves, which means it had the potential to be very time consuming. Again, I did not have much time, so I decided not to line the dress, only purchasing enough material for the outer dress. Or so I thought...


When I got home I cut out the pattern, laid it on the material, and quickly realized that I was a yard or two short. In my haste to start this project I misread the pattern envelope! I decided to cut out the pieces I could and make as much progress as possible before heading back to JoAnn's the next day.


The cowl neckline came together quickly and easily and looked amazing. After not having enough material this was the little pick-me-up I needed to keep working. The next step was attaching the skirt front to the bodice, which took a bit of effort to get the easing correct.


It took me a while to figure out how to finish the neckline since I wasn't going to line the dress. In the end I made my own facings with extra material and was happy with how well it worked. I also had to decide how to finished the sleeves since they weren't lined either and decided on a simple topstitch for speed and efficiency.


I wanted to make the dress floor length, but thought it would be best not to add the train given the type of event I was going to. The pattern piece for the train was a separate piece so in theory this would be easy enough to complete. After holding the sold back paper pattern piece up to my back I decided to add an inch to the length just to be safe. However, even with the extra inch, the back of the dress wasn't long enough to finish at floor length, so I ended up cutting out the train separately and attaching it after the fact. This wasn't ideal, especially because after purchasing additional fabric I would have had enough to cut out sold back pieces, but I was happy with the finished product.


There are a number of little things I would have done differently if I were to make this dress again, starting with giving myself enough time to finish it, but I am happy with the end result and hope to have the opportunity to wear it again.

Time estimate: 16-20 hours
Size: 12
Material used: crepe back satin, 100% polyester
Care instructions: machine wash cold, line dry, warm iron when needed

Cost to make dress:
pattern - $2
material - $30
zipper - $2
thread - $2
*hook and eye from my stash
TOTAL: $36 plus tax
Read more »
Marissa
2 Comments
[name=Marissa] [img=https://blogger.googleusercontent.com/img/b/R29vZ2xl/AVvXsEgft-3vDDqLpq4lxEo2Wx4YkE4-TQNU7SAldhEeqsnJ5NGKN48OSU2c-E6TmDZGf5IPiR6oTsNR332bRJ3dZZcIO7bkMkNpuXcp1K9AtFQ5rlu0kfvBzzjk-gyIKt6lGyYAM1HQ5b-z1Xg/s355/NielsenFamily19Final-11+%25282%2529.jpg] [description=Hi, I'm Marissa, a hobby seamstress. Thanks for joining me on my journey as I create a handmade wardrobe. Like and follow via the social media links below to see my newest makes!] [(instagram=https://www.instagram.com/sew_help_me)] [(facebook=https://www.facebook.com/SewHelpMebyMarissa)] [(bloglovin=https://www.bloglovin.com/blogs/sew-help-me-19274771)]