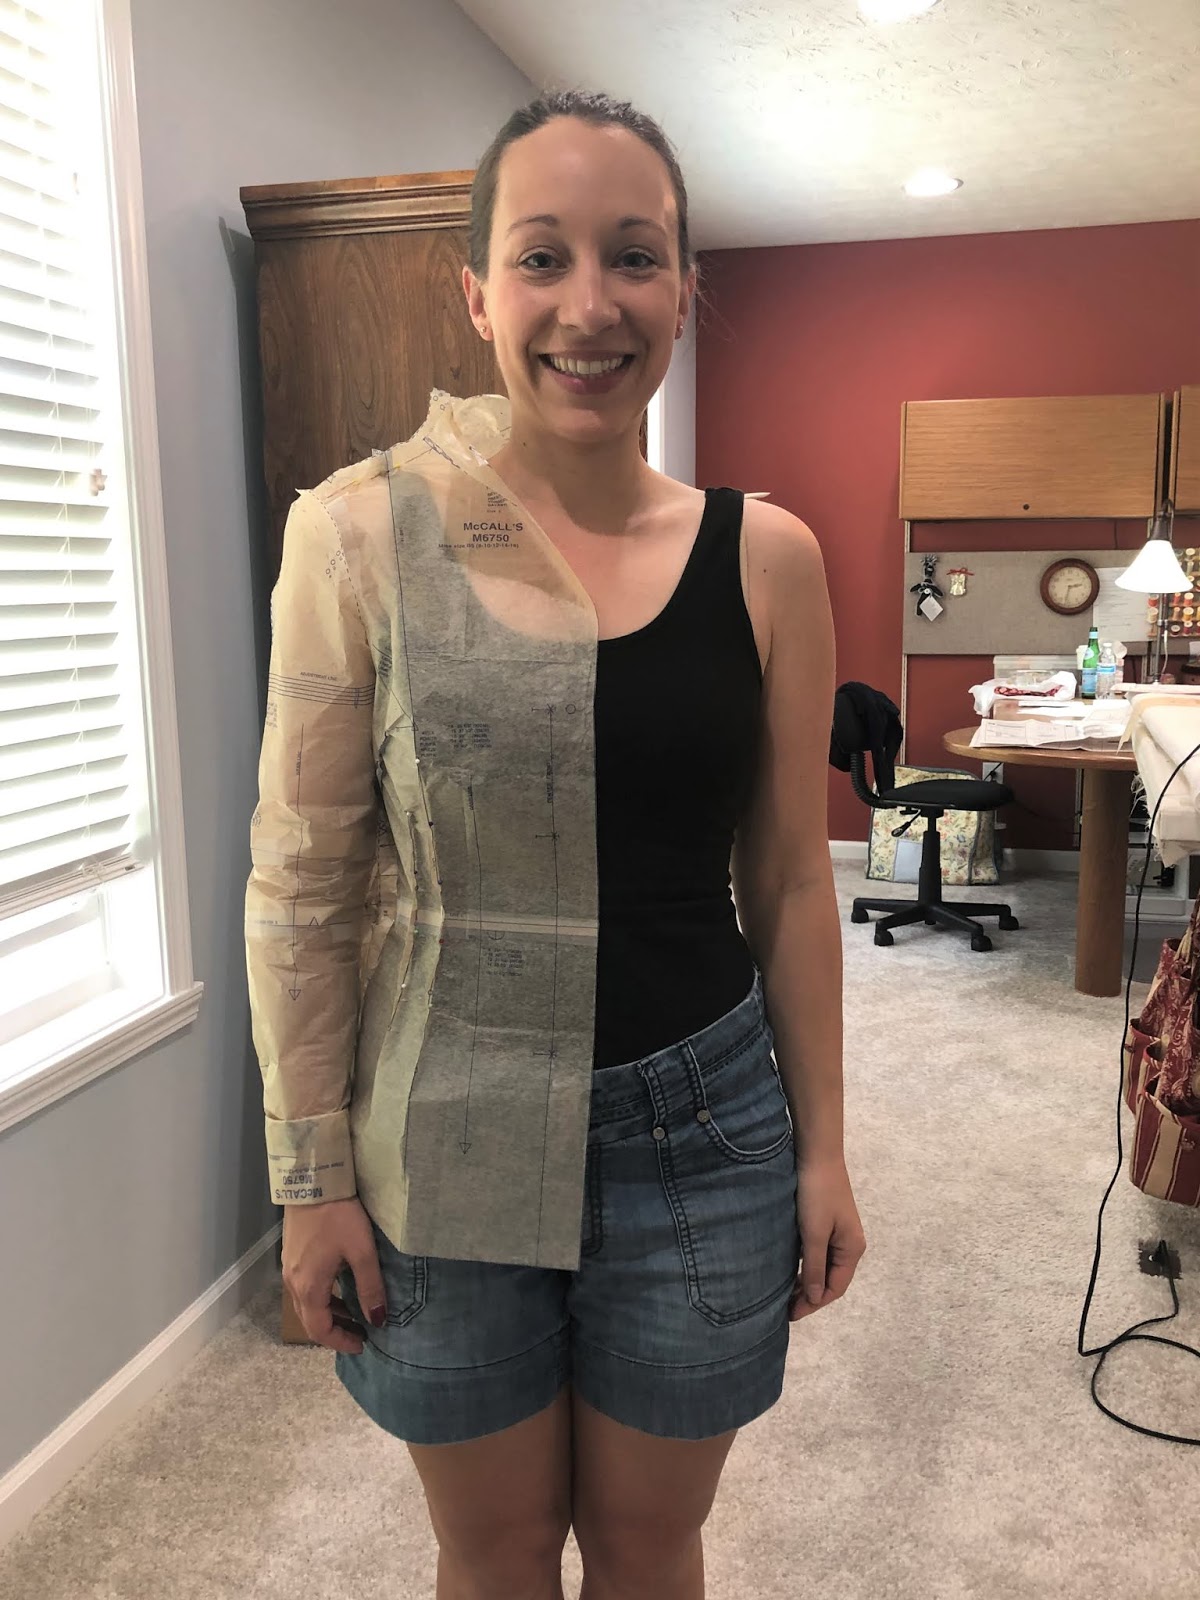
I recently had the opportunity to take a tissue fitting class with a local Palmer Pletsch certified instructor. I have been familiar with the tissue fitting method for some time, but wasn't familiar with the adjustments I needed to make in order to get a well fitted garment. With the help of my teacher I was able to make the best fitting button up I've ever worn!
I used the McCall's 6750 Palmer Pletsch button up shirt pattern for this class. The unique thing about using Palmer Pletsch patterns is they include fit lines on the tissue. These fit lines were an incredibly helpful tool as I learned how to make the adjustments I needed.
We started with taking new measurements for me, referencing the size and finished measurements on the pattern envelope, and rough cutting the pattern. Using a red colored pencil I marked seam allowances and pinned out the seam allowance and darts, then tried on the tissue. This first visualization helped me to identify a few fit issues including the need to bring the pattern waist line up to my natural waist and lengthen the bottom of the pattern to keep the original length. I also needed to do a sway back adjustment, bringing the tissue closer to my lower back.
Once these adjustments were made and taped out of my tissue I then needed to fix the darts, making sure they remained parallel to the grainline as indicated on the pattern piece. After making these initial adjustments it was time to cut out my fabric, pin out the seams and darts, and try it on again. The second fitting helped me see a few additional adjustments I needed to make, including a square shoulder adjustment to alleviate some fabric tension across the back of my neck. I also needed to shorten the sleeves, my right side slightly more than my left.
I ended up needing to cut a new back piece and re-pin for a final fitting. It was amazing how much better the final fitting was from the first, and I thought the first fitting was okay. I'm glad to learn how much better it can be! And the goal of sewing my own garments is to get a good fit.
I'm so thankful I took this class and learned how to get a better fit in my handmade garments. I'm looking forward to taking what I've learned and applying it to my future makes. And the silver lining, sewing with a local sewing friend!
I would highly recommend my certified Palmer Pletsch sewing instructor, Evelyn Cummings, if you're in the Indianapolis area. To find a certified sewing instructor in your area visit the Palmer Pletsch website.
Time estimate: 6 hours
Size: 8
Fabric used: cotton blend
Care instructions: machine wash cold, tumble dry low
Cost to make:
Pattern - $5
Fabric - gifted
*buttons, thread, and interfacing from my stash
TOTAL: $5


